Latest Posts

Prawns in Garlic Butter

Like most seafood dishes this one is non fussy and just divine tasting. Well, the fate of anything doused in butter is sealed – the final result has to be Fantabulous! I use fresh prawns which I clean and devein myself… yes its fishy business, but somebody’s got to do it. Frozen prawns are fine as well, but it tends to be less juicy. Prawns can be just as easily substituted with mussels, lobster, crayfish or calamari. You can eat this as a starter or serve it on top of homemade fettuccine. Either way it’s a weekday winner. Well anything you can whip up in 10 minutes flat should be right??

Prawns in Butter Garlic
 
Prep time: 5 mins

Cooking time: 5 mins
Serves: 4

What you need:

400 gms Shrimp

4 Tbsp Butter

25-30 cloves Garlic
1 Tbsp Mustard paste
1 Tbsp Lemon Juice
8-10 Peppercorns
A few sprigs Parsley
Salt (if needed)
What to do:
Wash and drain cleaned shrimps thoroughly. Chop parsley finely, keep aside. Crush peppercorns. Grind garlic to a rough paste. Heat butter in a pan with a dash of oil and fry garlic paste briefly. Add prawns, mustard paste, lemon juice, peppercorns and salt. Cook uncovered on low heat till the prawns are cooked. Add chopped parsley and remove from heat when the moisture dries up and serve hot.

Too good to be true Pesto

 What would you say, if I told you that I had the best Pesto recipe ever??!! Impossible right, cause I’m not even Italian, nor can I trace any of my roots to that hallowed land of food. (Ya, sometimes I dream I was Italian, eating their food everyday … bliss, bliss.) But I DO have the best pesto recipe. The result of trial, error, trial, error, consultation of many books and amalgamation of the best tips from the net – I give to you – Too Good to be True Pesto. I can’t even tell you it kicks store bought pesto’s ass because that would be like comparing a diamond to a piece of coal! I’m not claiming its authentic, I’m not even claiming that its by the book, but what it is, is heavenly green awesomeness that I could wrap my tongue around and ride off into the sunset with! Am I getting carried away? No, No, No… when you’ve found the holy grail of pesto’s wouldn’t you be shouting it out from the mountain tops? Here’s to my beloved Pesto – I love you, I do.  

Too Good to be True Pesto

Prep time: 20 mins
Cooking time: Nil
Serves: 4 (for pasta)

What you need:
1/3 cup Pine Nuts/ Almonds (I like Almonds better)
2 cups fresh Basil leaves, finely packed
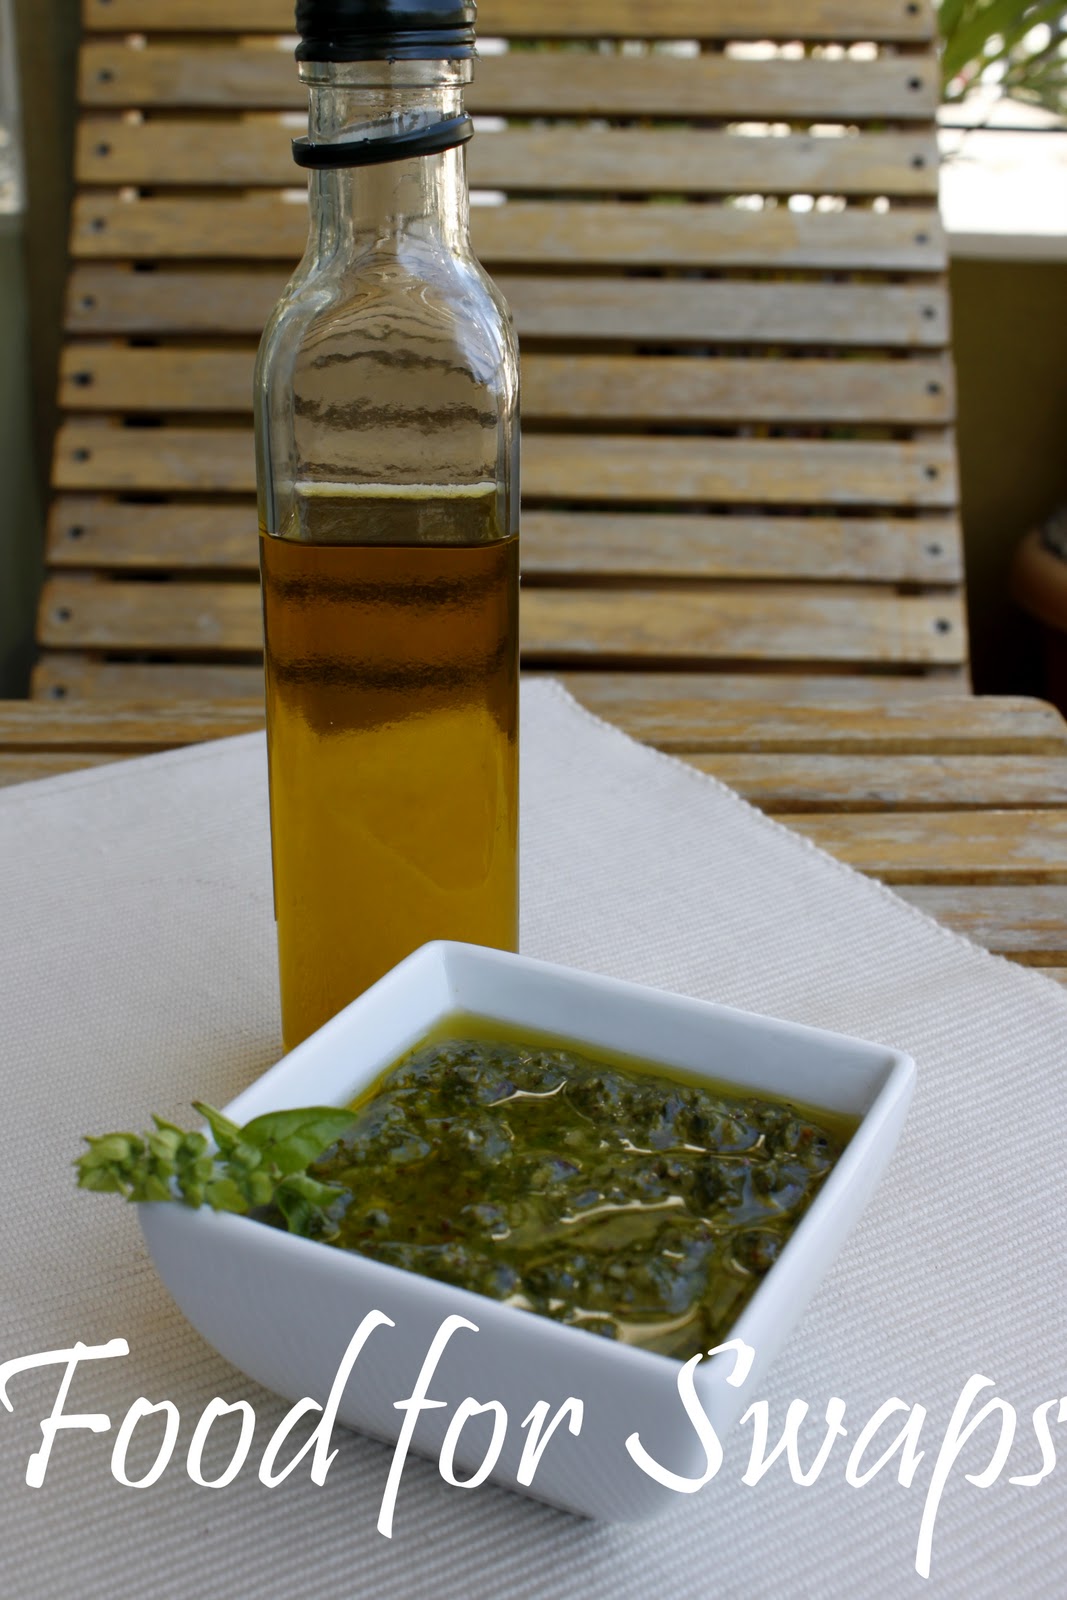
1/3 cup Olive Oil (good quality)
4 cloves Garlic (med)
1/3 – 1/2 cup Parmesan cheese, grated
40 gms Butter, softened
1/2 – 3/4th Tbsp Sea Salt, depending on taste
Freshly ground Black Pepper to taste
What to do:
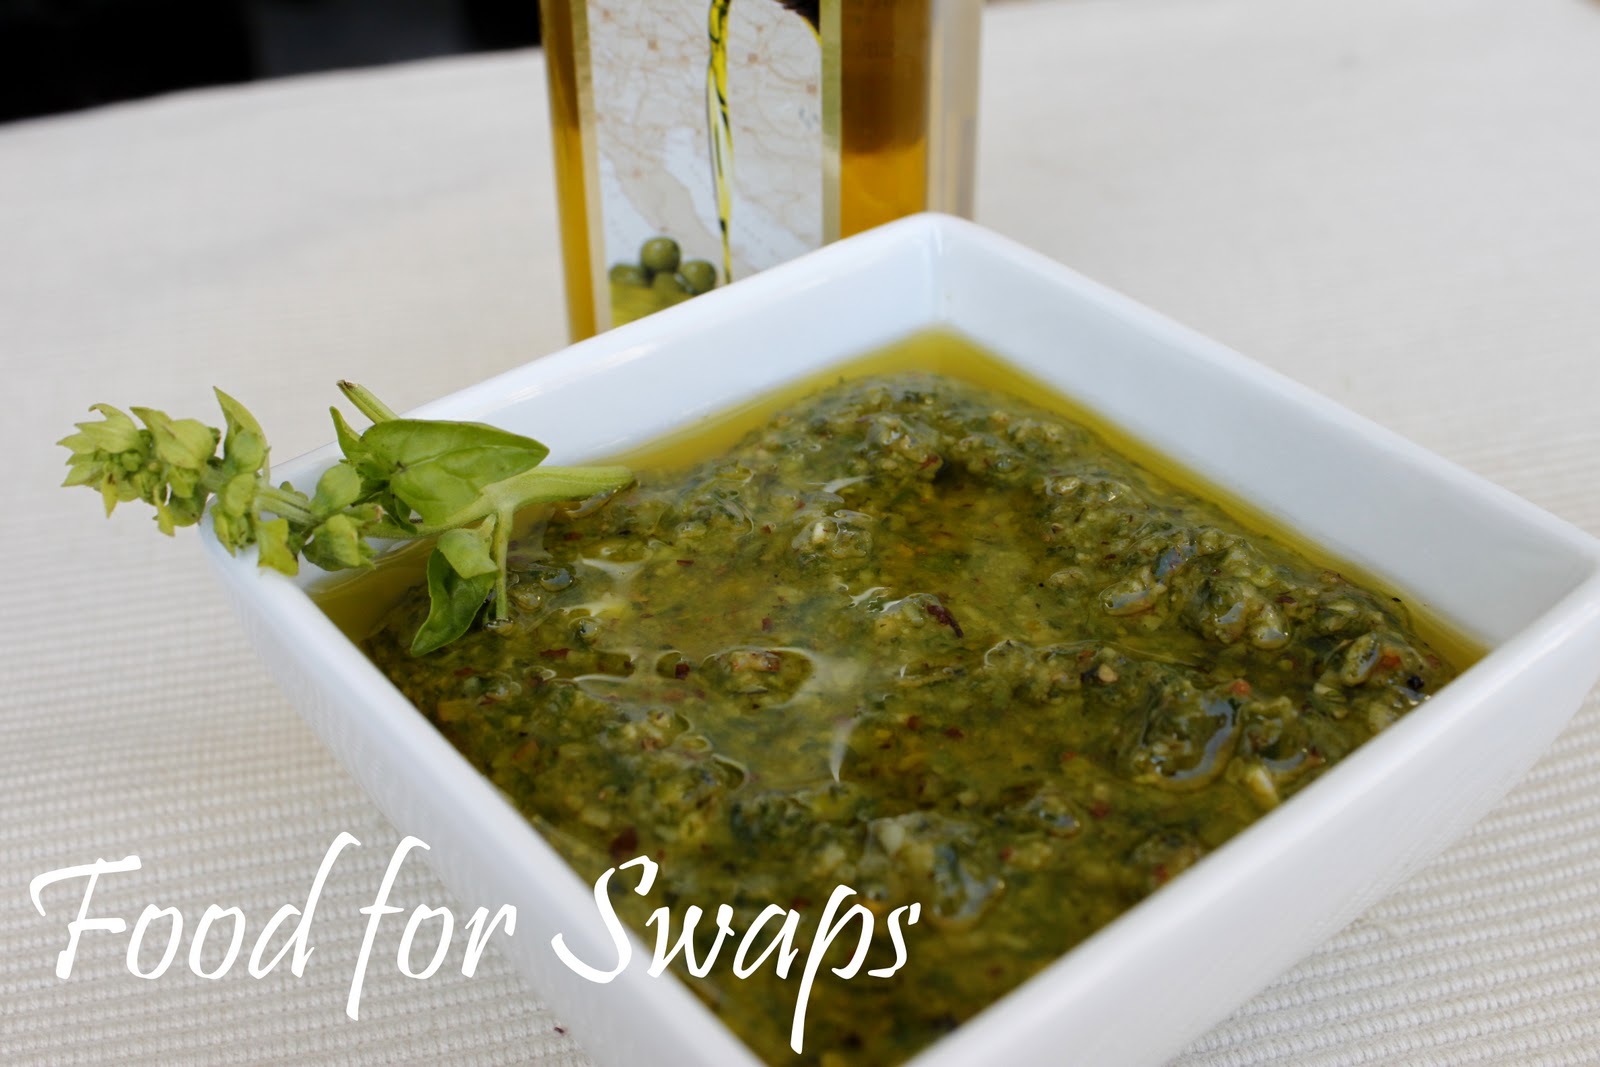
Place almonds in a dry pan, stir under moderate heat till lightly toasted. Or microwave for 1 min, stir in-between once. Place in a food processor and give it a whir till you get small pieces. Add basil leaves, garlic and sea salt. Process for 20 secs or until you can still see micro mini pieces of the basil leaves. DO NOT process till pasty. For best results I would use a mortar and pestle, but on busy days the processor can be used intelligently. Transfer to a bowl. Add parmesan cheese, butter and pepper. Mix well. Now here’s the best bit – add ½ the olive oil and mix with the pesto. The remaining oil can be poured on top of the pesto. This protects the green color. Now sit and admire!
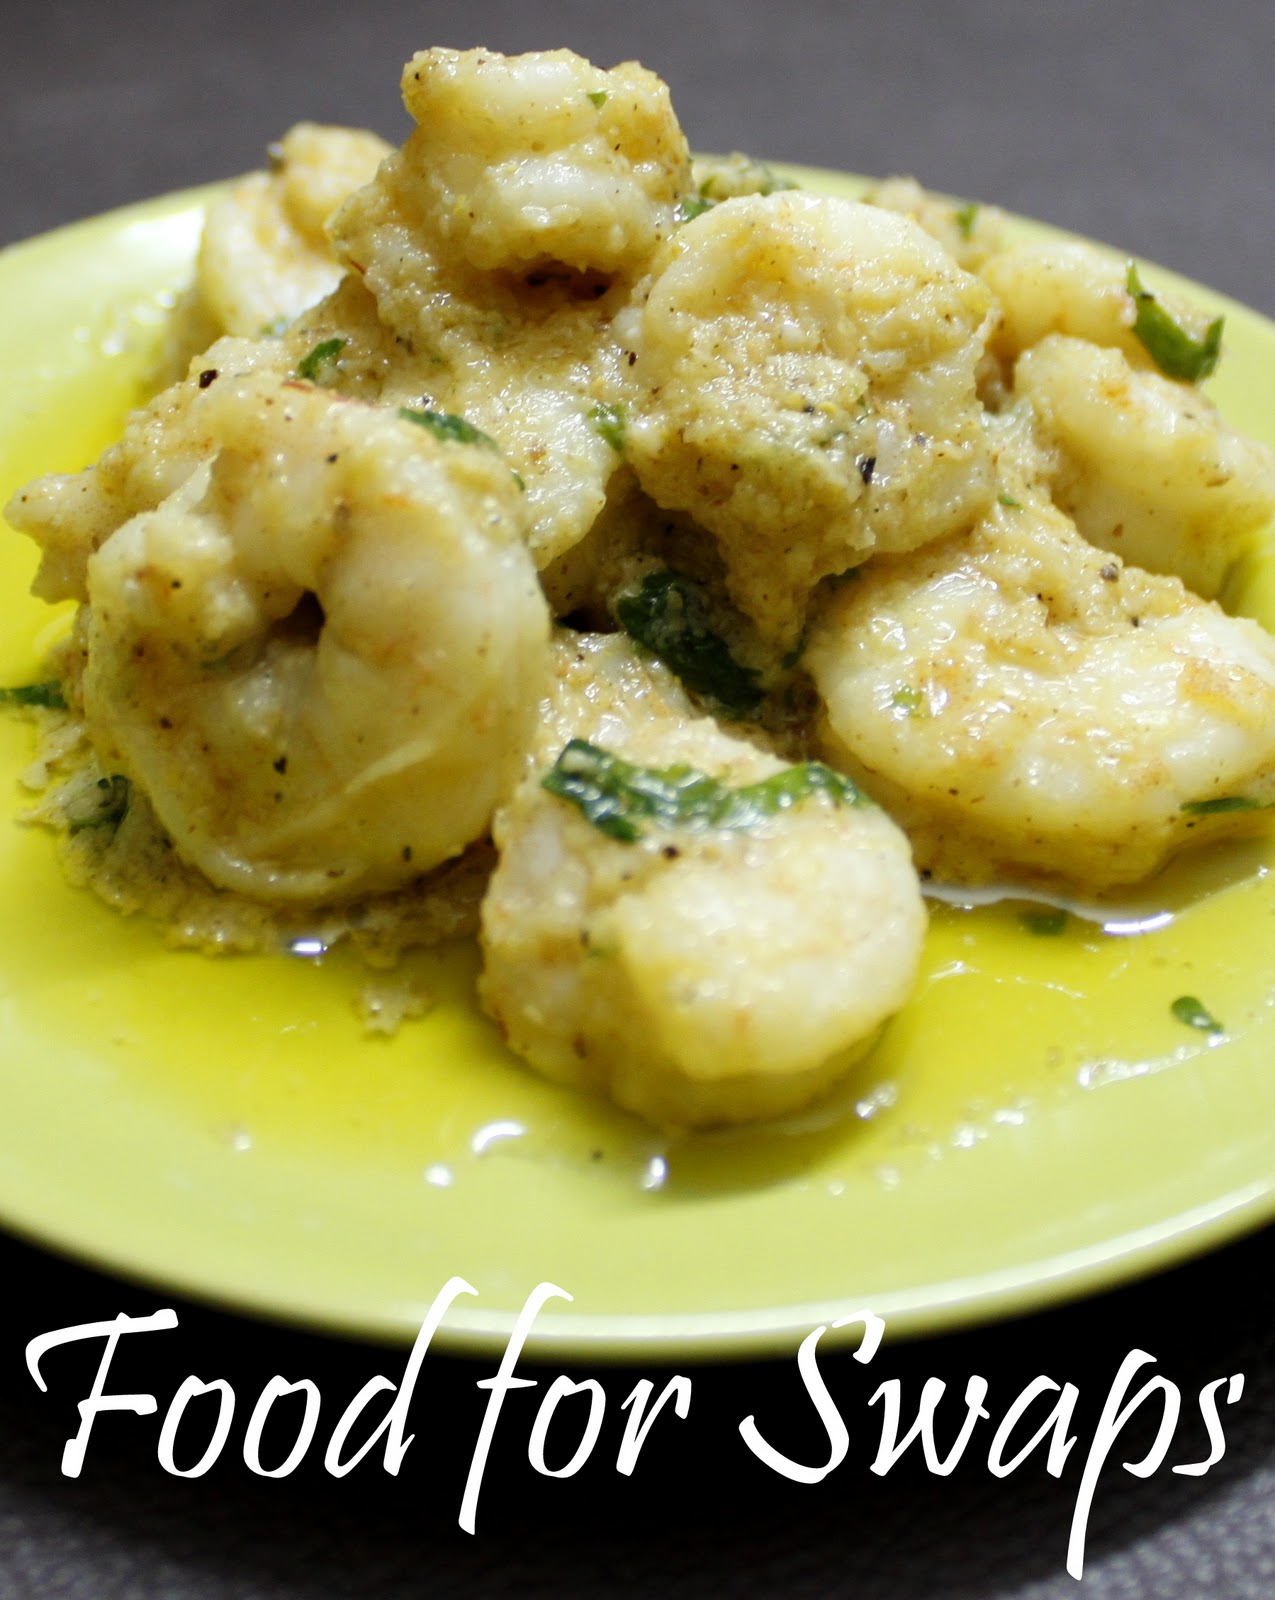
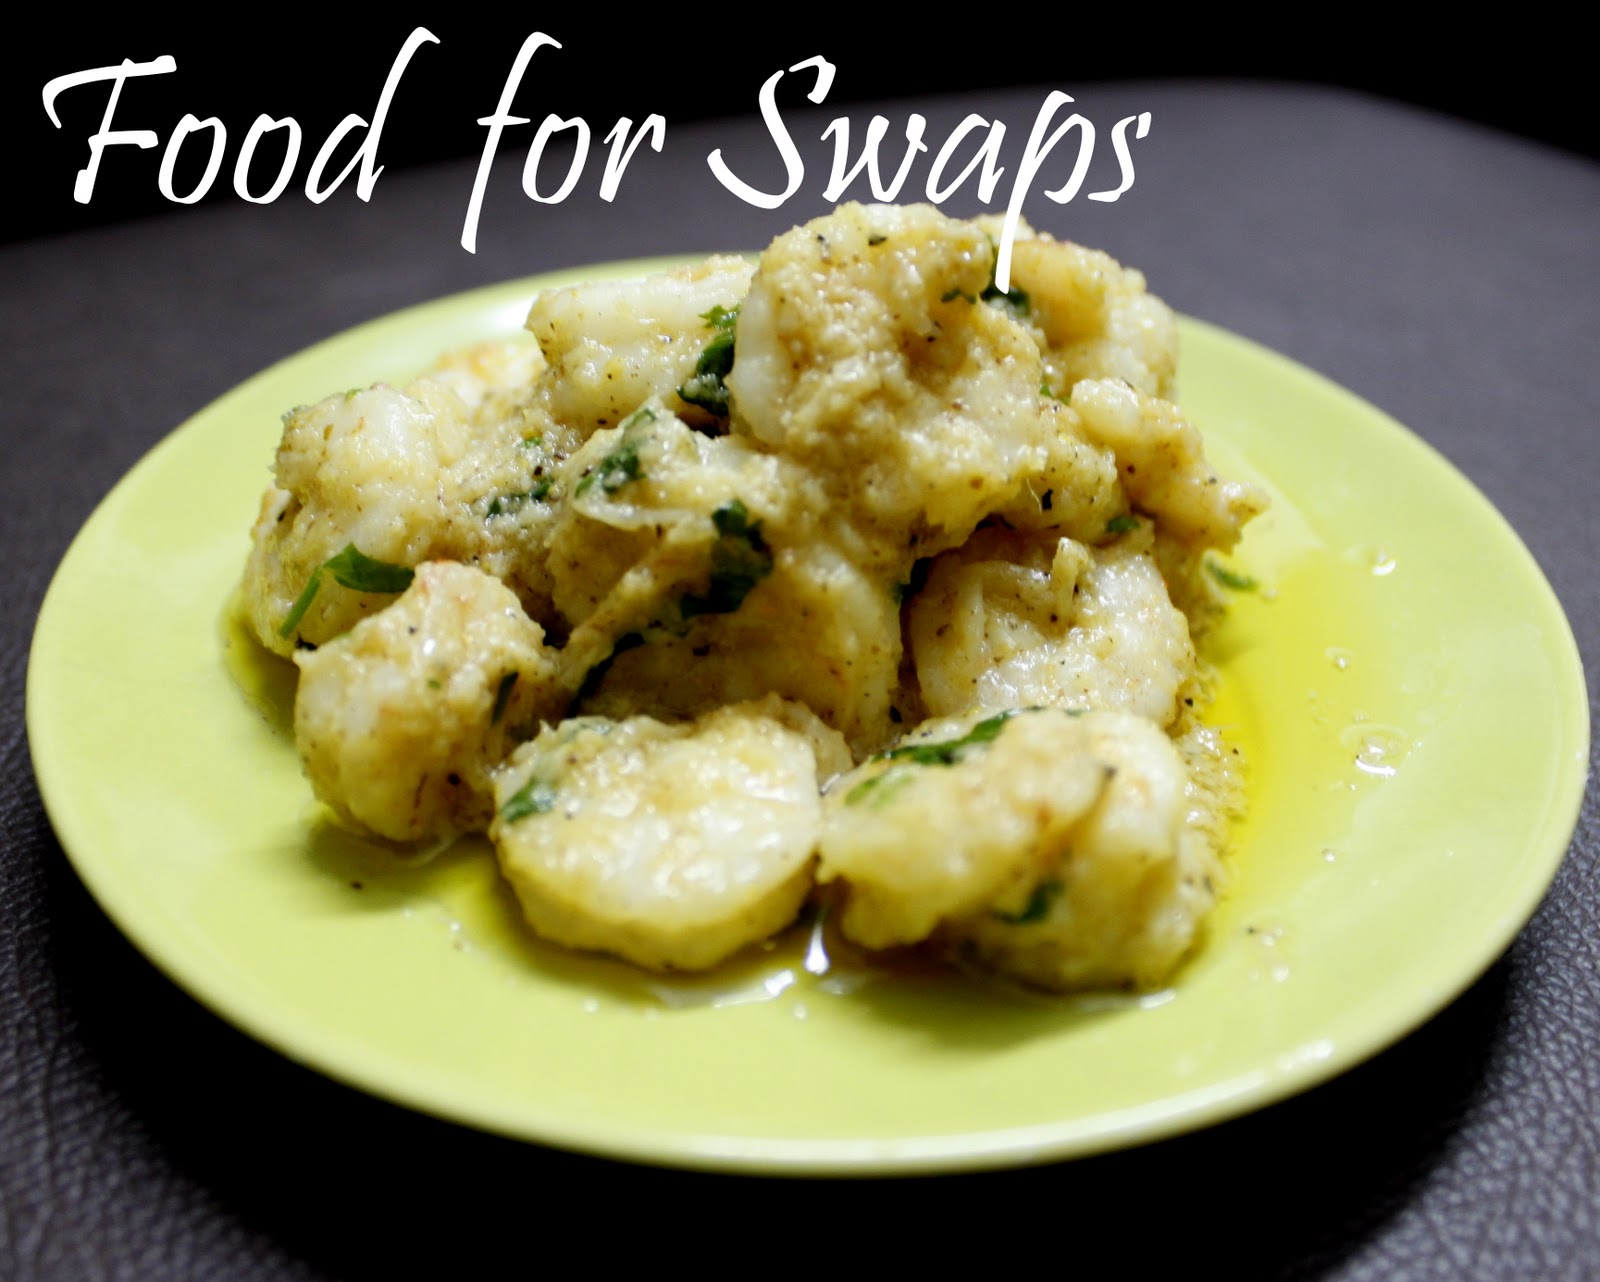
To serve with Pasta: Drain 500 gms of cooked pasta, (I’ve used whole wheat spaghetti) add the prepared pesto. (I go by three tsps per serving). Toss with more Olive Oil if required. Serve immediately. Sprinkle extra parmesan if you want to indulge.

Note: Pesto sauce can be made in large quantities for later use. It keeps well in the refrigerator for up to a week (covering it with a thin layer of olive oil preserves the color) if you keep in a glass jar with a well fitting lid.
If you want it to last longer, avoid mixing in the butter (as the butter can turn rancid). You can always mix in some fresh butter just before serving.

Pesto can also be stored in the freezer and will retain its color and flavor. Thaw in the refrigerator for a couple of hours before use.

Chicken and Mushroom Pie

Comfort  Food! This is a classic one. The smell of tender chicken and veggies in a hearty sauce, simmering away on the stove … pure rustic joy!  There are days when you want to eat fancy restaurant food and other days when nothing but a home cooked meal of goodness will do. Well, this is for the other days! I make this often, not just cause its yummy but cause its really easy as well. Actually it’s easy cause I skip the pastry crust on top. I know its cheating, but who wants the unnecessary calories? OK fine… that’s a lie as well… the truth my darlings – ready pastry is not available in India. Well not the cheap variety anyway and it’s a pain to make short crust pastry in a hurry. I’ll give you the pastry recipe however, for lazy Sundays when you can luxuriously knead the dough till it cries foul BUT today my friends I’m going to enjoy this sans the frills. (Eg: Minus Pie Crust , Add Dinner Rolls). Its tastes bloody good … if that’s what you’re thinking! 
Chicken and Mushroom Pie

Prep time: 10 mins
Cooking time: 30 mins
Serves: 6
What you need:
50 gm/ ¼ cup Butter
4 Tbsp Single Cream
1 1/2 cups Milk
1 Onion (cut into eights)
2 Carrots (diced)
1 Celery Stick (Chopped)
200 gms Button Mushrooms
400 gms cooked Chicken (cubed)
50 gms fresh/ frozen Peas
¼ cup Plain flour
1 cup hot Chicken stock
Salt and Ground Black pepper to taste
Fresh Bread to serve
What to do:
For the “lazy no pie crust” people : Melt half the butter in a heavy pan over low heat. Whisk in the flour and cook until bubbling, whickly constantly. Add the stock and whisk over a medium heat until the mixture boils. Add in the milk. Let it come to a rolling simmer. Cook for 2-3 mins. Whisk in the cream. Season to taste with salt and pepper, set aside.
Heat the remaining butter in a frying pan, add onions and carrots and cook over a low heat for 5 mins. Add the celery and mushrooms and cook for a further 5 mins, until they have softened. Add the cooked chicken and peas and stir.
Add the chicken mixture to the hot cream sauce and mix. Taste and adjust the seasoning if necessary. Spoon into a 2.5 litre oval baking dish. The lazy ones can now Serve Hot with fresh bread for dunking!

For the “I have time on my hands and want a pie” people: Roll out ready shortcrust pastry on to a floured surface of about 1/8 thick. Cut an oval 1 inch larger than the baking dish. Lay the pastry over the filling. Gently press around the edge of the dish to seal, then trim off excess pastry. Crimp the edge by pushing together forefinger and thumb all around the dish. Glaze the entire lid with beaten egg, then cut several slits in the pastry to allow steam to escape. Bake the pie in preheated oven (109°C/375°F/Gas5) for about 30 mins or until the pastry has browned. Serve Hot!!! 

Crumb Fried Fish with Lemon Mayonnaise

I made this as soon as I got back from my holiday, but posting it has taken me this long. You know how January is … tying up all the loose ends and brushing away all the lint from the previous year! Anyway I was lusting for some more seafood (The Lankan Hangover I like to call it!) and Fish and Chips always hits the spot. The recipe is so easy I would like to think a kindergarten kid could pull it off (except the frying bit which needs parental intervention). That doesn’t mean you start getting your kids to work in the kitchen…I wouldn’t want to be promoting child labor on this site now would I? Anyway they will be thanking you for this… it’s got a whole fast food aura to it, though you’ll always know its way healthier. Our little secret! 
Crumb Fried Fish with Lemon Mayonnaise
Prep time: 15 mins
Cooking time: 20 mins
Serves: 4
What you need:
8 fillets of Sear/ White fish (800 gms in total)
1 Lemon (juice of)
2 Tbsp Mustard paste
1 tsp Salt
5 Tbsp Corn flour
2 med Eggs
11/2 cups Bread crumbs for coating
For the lemon mayonnaise:
6 Tbsp Mayonnaise
1Lemon (juice of) and rind grated
2 Tbsp Tify Relish
Parsley sprigs to garnish
What to do:
Marinate the fish fillets in lime juice, mustard and salt for 15 mins. Lay out three plates separately with cornflour, bread crumbs and beaten eggs. Heat the oil and check the termperature – a cube of bread should brown in 30 secs. Dip each fillet in corn flour, then in beaten egg an finally cost with bread crumbs. Keep aside on a wire rach for 5 mins. Fry in oil till golden brown. Drain on tissue. Serve with mayo, salad and chunky fries.
To make the Lemon Mayonnaise: Grate the rind of the lemon into the mayonnaise. Extract juice of the lemon and mix in along with the relish. Garnish with parsley.
Note: I served this with a fresh lettuce and red onion salad with a lemon, olive oil and sugar vinaigrette. Tangy goodness!!
 

Happy 2011!

 “People are so worried about what they eat between Chirstmas and New year when in reality they need to be worried about what they eat between New year and Christmas!” so said Anonymous. Agreed we all overindulge during the holidays and why not? It’s the season to be jolly 🙂  I was away on holiday in Sri Lanka and trust me, even if you tried, you can’t stop overindulging. Sun, Sand, Surf … all add up to an atmosphere of blissful overeating. Add to it beers and wines and cocktails and you could really be in a glutton’s heaven. (MY heaven to be precise!) So without much adieu I wish you a wonderful 2011, filled with all things good and blissful and lipsmackingly awesome!

P.S. Some seafood that I lovingly shoved my face with …

Pineapple Upside-Down Cake

As a kid I was always amazed at this cake. How did they make the pineapple fit into the cake? Did they push it down and then burn the top? If they did then why dint it fall off when you turned it over? Anyway childhood has passed and all things magical are now just like that show – ‘Great magic tricks revealed’ (Which I hate by the way – I think they’re killing the enigma!). So yeah… I finally figured it out. They lay out the pineapple, pour the cake batter in and bake it. Finally, they filp it over – Hence Upside-Down cake. Should have paid more attention to the linguistics, mind you … would have figured it out much much earlier. But when you’re young and starry eyed, life is just so so much more fun. (The previous sentence in no way implies I’m an old hag now…just so you know … :P)

Pineapple Upside-Down Cake

Prep time: 30 mins
Cooking time: 30-35 mins
Serves: 8 (or 4 if you’re greedy)

What you need:


60 gms Butter, softened
½ cup plus 2 Tbsp Brown sugar
4 slices of canned Pineapple rings (drained and juice reserved)
For the sponge:
½ cup Butter, softened
½ cup Sugar
2 eggs, beaten
1½ cups Flour
2½ tsp Baking powder
A pinch of salt
7in/18cm Cake pan (deep)

What to do:

Lightly butter the pan and line the bottom with parchment paper. Cream together the butter and sugar and spread evenly over the parchment paper. Arrange the drained pineapple rings on top of the butter and sugar mixture. Meanwhile preheat the oven to 180°C.
To make the sponge, cream butter and sugar. Toss in the beaten eggs. Beat for 2 mins. Sift in the flour, salt and baking powder. Mix till just incorporated. Cut and fold technique. Spoon the batter on top of the pineapple rings and level the surface. Bake in the preheated over for 30-35 mins until the cake is well risen and springy to the touch. Invert the cake onto a warmed serving platter and serve at once.
P.S. That’s my beautiful Brown sugar…mmm….

Insalata Caprese (Mozzarella, Basil and Tomato Salad)

I know it’s not summer and this is definitely a summer salad. But on a dreary winter day like today, the colors sure cheer me up. This is such a simple salad but tastes heavenly. The creaminess of the bocconcini is well worth the visit to a gourmet store. (By the way, the white colour and creaminess is because it’s made from buffalo milk.) But if you can’t stomach the thought, then fresh mozzarella is fine as well. Like I was saying…chase the winter blues away with some red, white and green!

Insalata Caprese
Prep time: 10 mins
Serves: 6

What you need:
6 medium, ripe Tomatoes
4 fresh small Mozzarella (Bocconcini) balls
1 Tbsp Lemon juice
4 Tbsp extra virgin Olive Oil
Handful of shredded Basil leaves
Freshly ground Black Pepper, to taste

What to do:
Slice tomatoes thickly. Slice mozzarella thinly and interleave with tomato slices and basil leaves. Combine lemon juice and olive oil in a small bowl. Mix well using a wire whick. Drizzle dressing over salad. Sprinkle with shreds of basil leaves and pepper. Serve!


P.S. This salad is best served freshly made. Tomatoes at room temperature bring out their flavor.

Perfectly Poached Eggs

I’ve stayed away from poaching eggs. It’s an art and a science apparently, not for mere mortals. The regular cook in the kitchen need be satisfied with scrambled eggs, fried eggs, boiled eggs or omelets. But Poached eggs were to be left to a fancy chef who turned it out ala Eggs Benedict!  Well no more I said and attempted to poach an egg (remember Julie in ‘Julie and Julia’ J) To be honest, the first attempt was a birds nest and I quickly gobbled it down to erase any photo evidence. The second one however was definitely palatable. The proof of the pudding or the poaching is for all to see. Sunday morning brekkie anyone?

How to Poach an Egg (Courtesy: Wiki Info)


Step1: Set a saucepan to boil that is about two-thirds full of water. Milk can also be used for a richer taste.

Step 2: Add a dash of white vinegar (while it’s not absolutely vital, it helps the egg’s appearance – the vinegar coagulates the egg white turning it into a perfectly poached egg). The fresher the eggs, the better they poach. An egg straight from the chicken will poach without any need for vinegar.

Step 3: Crack an egg into a ramekin, small bowl or soup ladle.
Step 4: Spin the boiling water to cool down the water before you drop in the egg. You will want to bring the water to a temperature of about 160-180ºF (71-82ºC).
Step 5: Carefully lower or drop the egg into the center of the whirlpool. Make sure that you do not drop the egg into boiling water (100ºC/212ºF), as this will toughen the eggs and make them unpalatable.
Step 6: Wait 3-4 minutes until cooked.

Step 7: Remove with a slotted spoon. Work quickly to transfer each egg onto the plate, letting excess water drip back into the saucepan. Poached eggs should be served as soon as they are pulled from the water. Poached eggs get cold quickly, and cold poached eggs are decidedly less than perfect.