Is it a guy thing, to be repulsed by the idea of green food? No seriously, even before tasting my pea soup the co-resident faked fullness of the belly, courtesy a late lunch. The office mate nearly choked on his food before being forced to try it. The other colleague acted like he was part of a science experiment before gingerly licking the back of the spoon! Men I tell you… gutless, literally. That said, they all concluded that it was ‘not so bad – for pea soup’! And as an afterthought grudgingly added that it was actually (gasp gasp) tasty! I for one, love this version , cause the mint really uplifts it and its really easy peasy!

Minted Pea Soup
Prep time: 5 mins
Cooking time: 25 mins
Serves: 4-6
What you need:
2 Tbsp Butter
1 large Onion, coarsely chopped
1 Tbsp all-purpose Flour
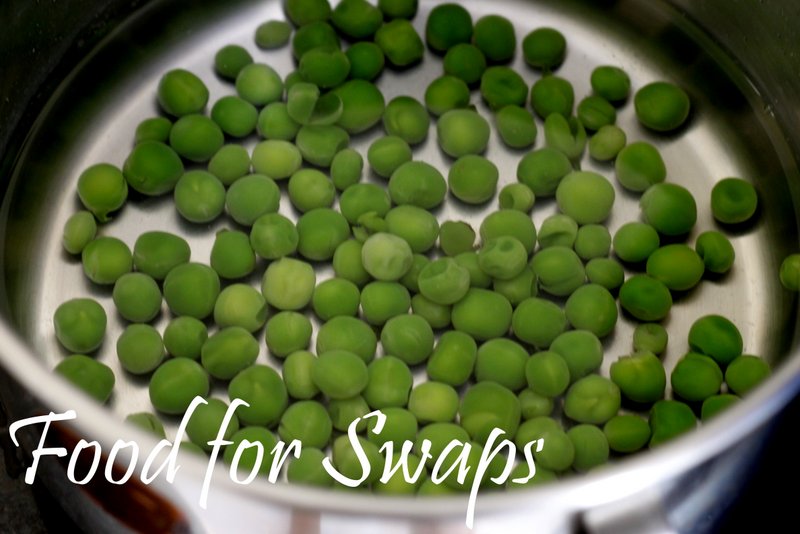
500 gms frozen Peas
5 cups (1.25 lt) Vegetable/ Chicken Stock
½ tsp Sugar
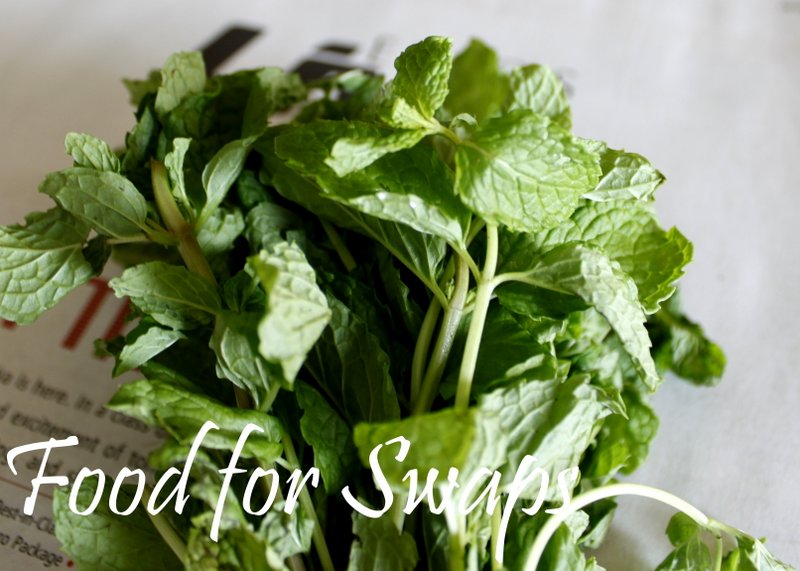
2 large Mint Sprigs
Salt and Black Pepper
Shredded fresh Mint for garnish
What to do:
Melt the butter in a large saucepan, add the chopped onion and cook very gently, stirring occasionally, for about 10 minutes until soft but not colored. Sprinkle in the flour and stir for a further 1-2 mins, then add the frozen peas, stock, sugar and sprigs of mint. Bring to a boil, cover and simmer gently. Stir occasionally for 5 mins or until the peas are soft. Do not simmer any longer than this otherwise the peas will lose their fresh green color.
Remove the mint sprigs and discard. Puree the soup in a blender or food processor until smooth. Return the soup to the rinsed out pan, reheat and add salt and pepper to taste. Serve hot garnished with shredded fresh mint.