Latest Posts

Quick Hummus for Easy Entertaining…

Featured in Tastespotting.com on 26th Sep 12
While the quickest Hummus would be a store bought variety, it’s not essentially the tastiest. At the other end of the spectrum is the completely home made Hummus which is super yuumy but so time consuming (with the overnight soaking of the chickpea and then boiling blah blah blah), that it takes the joy out of entertaining. Ok, I’m exaggerating, but I’ve never been a fan of being a slave to the kitchen. Give me quick, easy and tasty any day! So I’ve found a happy median with this recipe. I use canned chickpea and tahini paste and blend the rest of the ingredients in! It’s super simple and tastes 100% better than the store bought one. And I also have the satisfaction that I churned it out myself. (At least MOST of it)! J

Quick and Easy Hummus
Prep time: 15 mins
Makes: 2 cups
What you need:
1 can/ 450g Chickpeas in liquid (drained weight 200g)
1/3 cup Water/ Liquid (from the can)
2 Tbsp Tahini (Middle Eastern sesame paste)
2-3 cloves Garlic, mashed
2 Tbsp Lemon Juice
1/2 tsp Salt
4 Tbsp Olive Oil
1 tsp Sumac (Middle Eastern berry powder)/ Paprika
Coriander leaves to garnish
Lavash/ Pita / Vegetable Crudites to serve
What to do:
Drain the canned chickpeas and reserve the liquid along with a few chickpeas (for garnish later). Wash chickpeas thoroughly to get rid of the soapy foam. Now puree in a food processor till coarse. Add the mashed garlic and puree till smooth. Now add the tahini and the lemon juice and blend till incorporated well. Add the reserved liquid (1/3 cup or more) to get the desired consistency. Now add the salt and blend again to get a smooth creamy puree.
To serve: Spoon into a flat bowl and use the back of the spoon to smooth the hummus down. Create a well in the center. Place the reserved chickpeas and pour the olive oil around. Sprinkle some sumac and decorate with coriander leaves. Serve with Lavash or toasted pita crisps or vegetable crudités.
Here’s what was featured in Tastespotting.com

PanchPhoran Dal (Five Spice Lentils) – Comfort food at it’s Best!

I know I’ve said many times that making regular dal and rice bores me. That dosen’t mean I don’t make it. No week is complete without Dal being made atleast twice. It’s what we grew up on and it’s what I crave when I come back from a long trip to unfamiliar places. Eating dal and rice with a veggie on the side and a smattering of pickle is nothing short of a homecoming! The fact that it’s such a commoner on the dinner table and gets made so often, I’ve actually never written down a recipe for dal. So this was my first attempt at documenting the precise quantities. I kept a little sheet of paper next to me and kept jotting down what I threw into the pan. Now I finally have a dal recipe that I can pass to the co-resident and ask him to attempt it when am too bored to move a muscle J We use mustard seeds and curry leaves to temper the dal. However, this one uses a five spice mix called Panchphoran that is unique to the eastern parts of India – West Bengal and Orissa. The mix is equal parts of brown mustard seeds, Nigella (kalonji/ onion) seeds, fenugreek (methi) seeds, cumin (jeera) seeds and fennel (saunf) seeds. This totally rocks the Dal into a different universe. I almost feel like I’m eating super sattvic temple food …God bless the humble Dal!

Panchphoran Dal
Prep time: 5 mins
Cooking time: 30 mins
Serves: 2
What you need:
¾ cup Toor/ Masoor/ Moong Dal/ Lentils
2 ½ + 1 cup Water
1 Tomato
½ tsp Turmeric powder
¼ tsp Oil
3 Tbsp Ghee
½ Onion, chopped
2 Green Chillies, slit lengthways
1 dried Red Chiili, broken into two
1 tsp Panchphoran mix
4 Garlic cloves
1 tsp Salt
15 Curry leaves
2 Tbsp Chopped Coriander leaves to garnish
PanchPhoran Mix (store in an airtight container):
2 tsp Brown Mustard Seeds
2 tsp Fennel (Saunf) seeds
2 tsp Nigella (onion/ kalonji) seeds
2 tsp Cumin (jeera) seeds
2 tsp Fenugreek (methi) seeds

What to do:
Wash the dal and if possible soak in water for 20 mins. Drain and put the same in a pressure cooker. Top with 2 ½ cups of water, turmeric powder, oil, salt, slit green chillies and the chopped tomato. Wait till the water starts bubbling, then close the cooker lid and wait for the pressure to build. Now put the weight on and pressure cook for 20 mins. Remove off the heat, wait for the pressure to come down. Now open the lid and mash the dal well with the chilli and tomato. Mix the dal with 1 cup of water and keep aside.
Heat some ghee in a kadai. On medium heat, add the onion and a pinch of salt and stir till onion is soft. Toss in the red chilli, minced/smashed garlic and the panchphoran mix and saute for 2 more mins. Finally add the curry leaves and wait till they just start to fry. This is your tempering / takda.
Now pour in the dal and mix well. Let the dal simmer on the stove for 5-7 mins to thicken up a bit and incorporate the flavours of the tadka. Garnish with chopped coriander leaves and serve with fluffy hot rice and pickle. J J J


Ultimate Chocolate Banana Cake with Dark Chocolate Ganache

Oh Man! There’s so much chocolate in this recipe and its soo moist and googey and yummy. I kid you not! It’s now my TOP chocolate cake. Ok, I know it says banana in the title, but don’t let that scare you away. All the banana does is make it unbelievably moist (just like a fantastic patisserie bought cake) and add a faint banana sweetness. I realized that banana in a chocolate cake is not such an odd combo. I ordered a slice of royal banana chocolate cake at the California Pizza Kitchen and was totally transported to heaven. So I looked high and low for a similar recipe and finally found a Joy of Baking one that looked and sounded delicious. The recipe is super rich and makes a huge cake for 12 people. This means not only do I have a fail safe recipe, but one that tastes un-freaking-believable, and feeds a lot of people at the same time…I am really in cake bliss! I balanced the sweetness of the cake with a dark chocolate ganache frosting. Again super easy to make, so don’t sweat it and don’t leave the frosting bit out. I’m telling you it totally elevates the cake. So I’m gonna beg you to make this cake… no really… I am… it’s that good!

Chocolate Banana Cake with Dark Chocolate Ganache
Prep time: 20 mins
Baking time: 30-35 mins
Serves: 12-14 chocolate lovers
What you need:
2 cups (400 grams) finely granulated white sugar
1 ¾ cups (245 grams) all-purpose flour
¾ cup unsweetened Cocoa Powder (regular or Dutch-processed)
1 ½ tsp Baking Powder
1 ½ tsp Baking Soda
½ tsp Salt
2 large Eggs
2 mashed ripe Bananas (about 1 cup)
1 cup warm Water
½ cup Milk
½ cup refined Oil (sunflowers/ safflower/ canola/ other flavorless oil)
1 ½ tsp Vanilla extract
Chocolate Ganache Frosting:
225 gms Dark Chocolate (greater than 35% cocoa solids), cut into small pieces
¾ cup (180 ml) heavy whipping Cream
1 Tbsp (15 grams) Unsalted Butter
What to do:
Preheat oven to 180°C / 350°F and place the rack in the center of the oven. Butter, or spray with a non stick vegetable spray, a 11 inch circular / 9 x 13 inch pan. Set aside. 
In a large bowl whisk together the sugar, flour, cocoa powder, baking powder, baking soda, and salt. Set aside.
In another large bowl, whisk together the eggs, mashed bananas, water, milk, oil, and vanilla extract. Add the wet ingredients to the dry ingredients and stir, or whisk, until combined. You will notice that the batter is quite thin. Pour the batter into the prepared pan and bake for about 30 to 35 minutes or until a toothpick inserted in the center of the cake comes out clean.  
Remove from oven and let it cool on a wire rack. When completely cooled, frost with the Ganache.
For the Ganache: Place the chopped chocolate in a medium sized stainless steel, or heatproof bowl. ( I use dark chocolate with less than 54% cocoa solids because the higher % ones tend to split while whisking.) Set aside.
Heat the cream and butter in a medium sized saucepan over medium heat (can also be heated in the microwave). Bring just to a boil. Immediately pour the boiling cream over the chocolate and allow to stand for 5 minutes. Stir gently until smooth, with a wire whisk. Let it cool.
Now spread half the ganache on the cooled cake. Smooth down. This will look glossy and dark. Beat the other half of the ganache until soft and fluffy (I use an electric whisk for 10 mins). Ensure both the whisk and bowls are chilled. This whisked ganache will be lighter in color and texture to earlier one. Now use this to decorate the cake any way you please.

Savoury Breakfast Muffins to wake you up!

It’s nice to have a good savory muffin in one’s repertoire. (Not that I would ever tire of cupcakes!). But some mornings need a nice wake-me-up-punch and if I load myself with sugary delights, I know I’m going to crash by midday! So this one’s a lovely cheddar and spinach muffin with the red chilli adding the right amount of spice. It feels really healthy because its got veggies and milk and just 3 gms of butter per muffin! (Almost felt like a subway advert there – less than 6 gms of fat!). It’s also really easy to make – just combine the wet and dry ingredients and bake! I would suggest eating these warm (not hot) so that you can still feel the gooey cheese. I like to throw on some Tabasco on top, because I’m crazy! Good Morning darlings… I’m sure going to have one!

Spinach and Cheddar Breakfast Muffins
Prep time: 15 mins
Baking time: 30 mins
Makes: 10-12 muffins
What you need:
1 small Onion, finely chopped
3 cloves of Garlic
1 fresh Red Chilli, chopped (or two)
1 Tbsp Olive Oil
350 gms Plain Flour
2 ½ tsp Baking Powder
1 tsp freshly ground Black Pepper (or to taste)
200 gms Cheddar, grated
250 ml Milk
1 Egg
30 gms Butter
1 bunch/ 150 gms of fresh Spinach, chopped
Salt to taste
What to do:
Preheat the oven to 170°C. In a pan, over medium heat sauté the sliced onion in the olive oil until soft. At the end, grate the garlic and throw the chili into the pan and give a good stir to combine the flavors.
In a bowl stir the flour, baking powder, pepper and three fourths of the cheddar. In another bowl, whisk the milk and egg together, then pour onto the flour mixture. Toss in the cooled, melted butter and combine using a wooden spoon to fold.
Now add the cooled onion mixture and the chopped spinach.
The batter will be quite thick, (like really wet bread dough) so the best way to incorporate all the elements is to get your hands in there!
Line the muffin tin with butter paper or muffin liners to remove the muffins easily. Divide the batter into twelve medium muffins. (the batter in the muffin tin will look all gnarly but will smoothen out once baked). Sprinkle the remaining grated cheese on top. Bake for 30 minutes or till a skewer inserted in the center of the muffin comes out clean.
Remove the muffins from the tin immediately and turn them over. This is to avoid the base getting soggy. Cool upright on a rack. A complete breakfast with freshly squeezed fruit juice!

Third times a Charm… Happy Birthday Food for Swaps!

Food for Swaps turned three on 24th of July. I had just gotten back from holiday and had massive withdrawal symptoms! That coupled with a lost wallet and pending work load of 20 days had me walking a tightrope! So you can see how the idea of putting pen down to paper (or rather finger to keyboard) was far from my mind. Actually it was like this invisible boulder on my shoulder (i’m rhyming!) that I chose to ignore for 3 days. But I can’t any longer – my little blog has become such a comfortable part of my daily routine that turning three just seemed like the inevitable. And I owe it to my blog to say “HAPPY BIRTHDAY FOOD FOR SWAPS”! Thanks for making my days more enjoyable and my meal times more creative and my pictures more lustworthy ! And I thank you guys for hanging around and taking this food journey with me! Like they say “Third times a Charm” and “Three’s a crowd” and a jolly good one we have right now!!

I picked my top recipes of the past year for you guys. Now these are my personal favorites, the ones that, if I had a recipe book I would put a big gold star on! Hope you have fun! Love Always … Food for Swaps.
In no particular order…..

Singapore Black Pepper Prawns

Singapore’s most famous dish is undoubtedly the Chili Crab and the Black Pepper Prawns. When you walk down Clark Quay or Boat Quay you will find innumerable restaurants and street café’s serving up these super fiery dishes. The Chili crab is generally made with huge Sri Lankan crabs. If you put both your palms together, the crab will probably be larger than that! I’ve spent quite a bit of money on many many nights in Singapore digging into these critters! Another one of my favorites is the Black Pepper Prawns – buttery, peppery, hot awesomeness! They generally use Tiger Prawns for this with the tails (and sometimes the head on.) You yank the head off and start slurping down the sauce and the prawn meat, then finish by digging out whatever else in left in the tail. At the end of the night you have steam coming out of your ears and are sticking your tongue out and downing litres of beer but you can’t stop smiling, because it was so awesome! So here’s my little imitation black pepper prawns. I used medium prawns with the head and tail off. I cooked them skewered on a bamboo stick. This way it makes for an excellent appetizer or cocktail snack. Don’t expect your guests to behave themselves and eat just one skewer… they are irresistible!

Singapore Black Pepper Prawns on a Stick
Prep time: 10 mins
Cooking time: 15 mins
Serves 4
What you need:
250 gms cleaned Prawns / 500 gms Prawns with the head and Tail on
¼ cup whole black peppercorns, ground
1 Tablespoons Vegetable/ Sunflower/ Peanut oil
30 gms / 2 Tbsp Butter
10 cloves Garlic, peeled and chopped
1 ½ inch fresh Ginger, peeled and sliced thin
2 Tbsp Oyster Sauce
1 Tbsp Soy Sauce
¼ cup water
Coriander leaves to garnish
What to do:

In a small skillet, toast the black pepper for a minute till fragrant. Remove and set aside. Grind roughly with a mortar and pestle till sandy but not fine. Wash and clean the prawns. Now skewer about 4-5 on a bamboo skewer. I do this to ensure even cooking of the prawns.
In a large wok, heat the oil. When hot, add prawns and fry till prawns turn bright red. About 2 mins on each side. They need not be cooked through. Turn down heat and remove prawns from the wok. Now, reheat the wok on medium high and add the butter. When the butter begins to bubble, add the minced garlic and sliced ginger. Fry till fragrant, about 2 minutes. Now quickly add the oyster sauce, soy sauces and water. Bring to a boil. When it comes to a boil, add in the black pepper, stir to mix. Now add in the prawns and toss to coat well. Cover and steam for two mins. Black pepper prawns ready to wow!

P.S. The black pepper compliments the sweetness of the prawns very well. It’s not so much fiery and scalding the tongue hot as much as the heat from the pepper making the back of the throat go ka-boom! Enjoy… I sure did!

Mango Lassi and Opportunism

Mango season is almost getting over and I am downing mangoes by the dozens! There’s a frantic need for me to consume as much as I can before I walk out one day and realize the mangoes are gone (for this year at least!). Now Frooti (it’s the largest selling mango drink in India) will have you believe that you can have fresh mango juice throughout the year… but we all know anything that’s stretched to make it live out of season is, well… bullshit. Opportunism is defined as the practice of taking advantage of circumstances with little regard for consequences. So my need to hoard in season, is justified I think! However, this drive to consume more mangoes than I possibly should, has some very visible repercussions – a couple of extra kilos! (Luckily a flowy summer top will hide most of the abnormalities :P). I digress as usual, but the point of this whole post was to tell you eat as many mangoes as you can before it’s too late!
Now the Mango Lassi is very popular out of India. It’s almost like the quintessential Indian Welcome Drink in any odd ‘Indian’ Restaurant. At home though, it’s more common to have mango juice or mango milkshake. I’ve only spotted Mango Lassi as a menu item in some of the beach shacks in Goa/Kerala and the reason for that definitely being the demand from some offshore residents! I remember a dear old French airhostess friend of mine, who would have dreams of mango lassi as soon as she boarded the flight to India! So whoever invented the Mango Lassi – I give you my thanks and gracefully bring it under the wing of ‘Indian’ recipes. We have no problem accepting something this good as our own creation J
Mango Lassi
Prep time: 10 mins
Serves 2
What you need:
1 cup Mango pieces (I like the Malgova/ Raspuri/ Alphonso variety for juice)
1 cup Thick Yoghurt, cold
½ cup Milk, cold
4 tsp Sugar
To Serve:
A pinch of Green Cardamom/ Elaichi powder and small mango pieces
What to do:
Puree the Mango pieces with the sugar in a blender. Now add the yogurt (ensure it’s not too tart) and whizz for a minute. Finally add in the milk and blend till it’s incorporated.
Pour into a glass. Garnish with small pieces of mango and cardamom powder. (The cardamom powder is optional but I’ve realized the aroma and flavor are what takes this to a whole new level of bliss!)
P.S. Take a green cardamom pod/ Elaichi and open it up. Now shake the black seeds out and crush them using a mortar and pestle. Homemade cardamom powder.

Article on Food Bloggers in Bangalore mentions Food for Swaps!

http://bangalore.citizenmatters.in/articles/view/4274-bengalurus-food-blog-trail

Bengaluru’s food blog trail

Mediterranean cuisine did you say? Or do you want a quick recipe on mango based dessert this summer? A peek into some of Bengaluru based food bloggers.
By Maitreyi Ananth

<!– if !@article.summary.blank? %>

<a style="color:#555555;text-decoration:none;"id="summary_popup_id" href="#" onclick="show_popup('summary_popup', 'summary_popup_id', 'Register Please', 'Please register as a user or login to see article summaries.’, 300);return false;”>summary

<end–>

Food blogging is growing in India, and a lot of food enthusiasts are sharing their wonderful recipes online. Each of them have their unique stories, experiences, and of course, their food recipes. Here are three food bloggers who live in Bengaluru doing what they love doing, and a peek at their journeys.
Blog beginnings
Archana Doshi, on her food blog , calls herself a “chef, blogger, author, food writer” and more. She is a software engineer by profession but when she became a mother, she had to leave her career behind. At this time she decided to blog about parenting, and a little later, she began blogging about the recipes that she invented in her own kitchen.
Archana’s ‘Pavlova with Strawberry Compote’. Pic: Archana Doshi
“I developed a flair and love for cooking during my childhood when I worked with my mother in the kitchen helping her with various chores,” says Archana. “Over time my traffic kept increasing, the growth provided the drive to cook, write and photograph food,” she says.
Another food lover, Chinmayie Bhat’s cooking days began when she was in college. “When I moved to Bangalore for college into my own little house at the age of 17, I started cooking all three meals a day.”
Though her food was a hit, Chinmayie says she could never remember the exact recipe. “Every time somebody tried something special I had made, they would ask me for the recipe and I would be blank. I never remember my recipes. Cooking to me is very natural and spontaneous,” she says.
After a while she began to post her recipes and photographs on her Facebook page. As time went by, more people began asking her for her recipes. That’s when she decided to start her own blog.
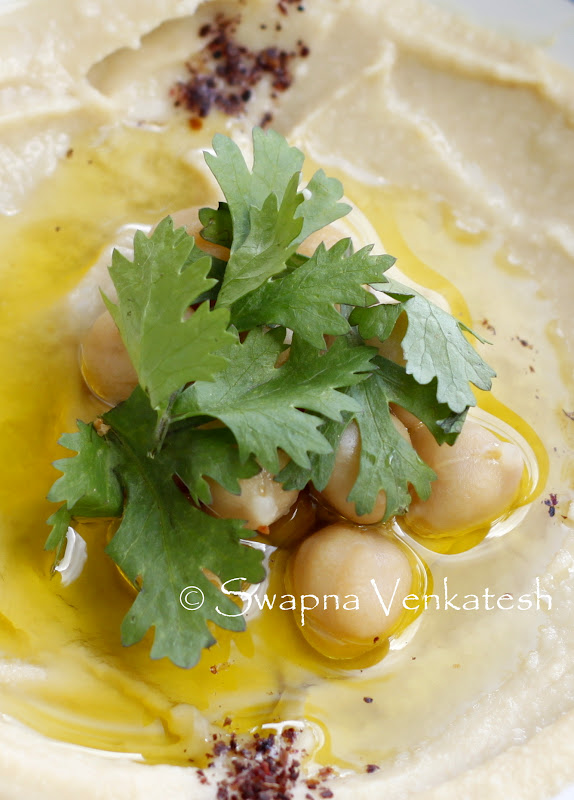
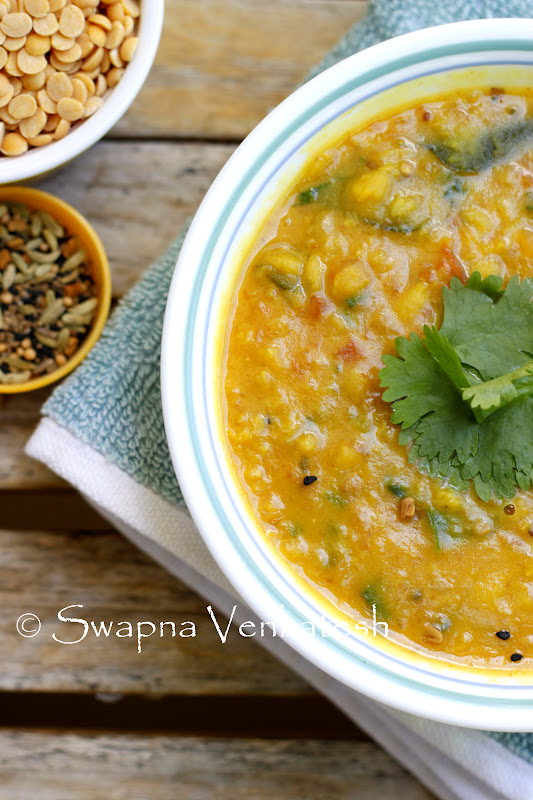
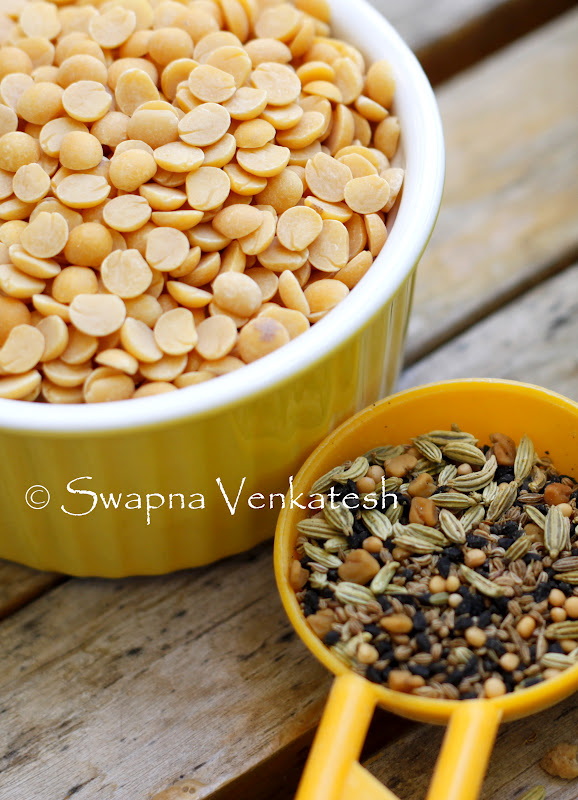
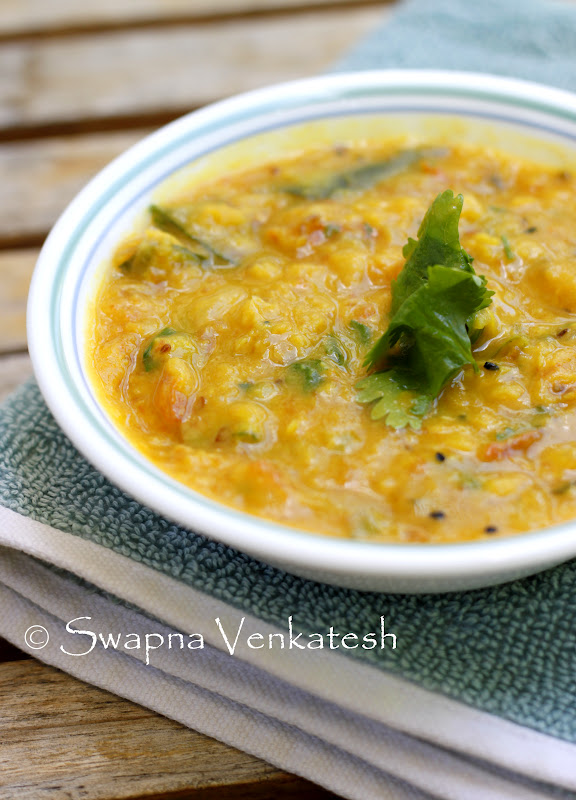
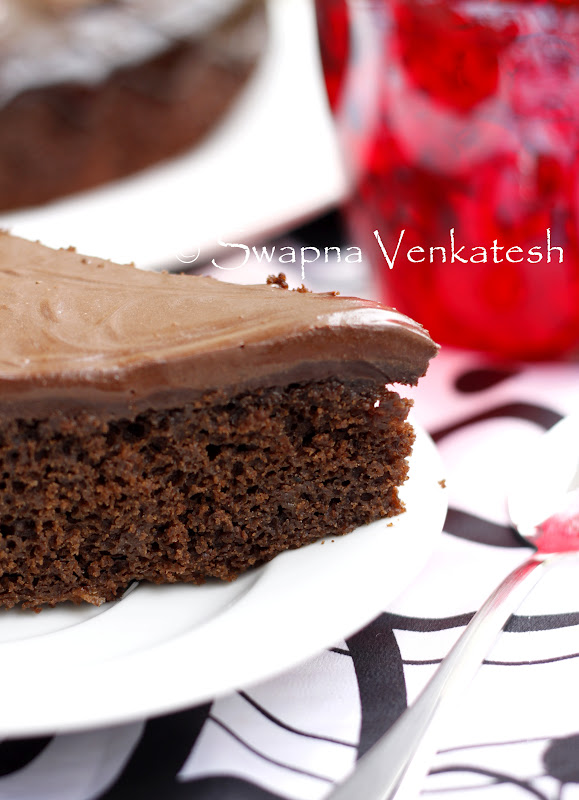
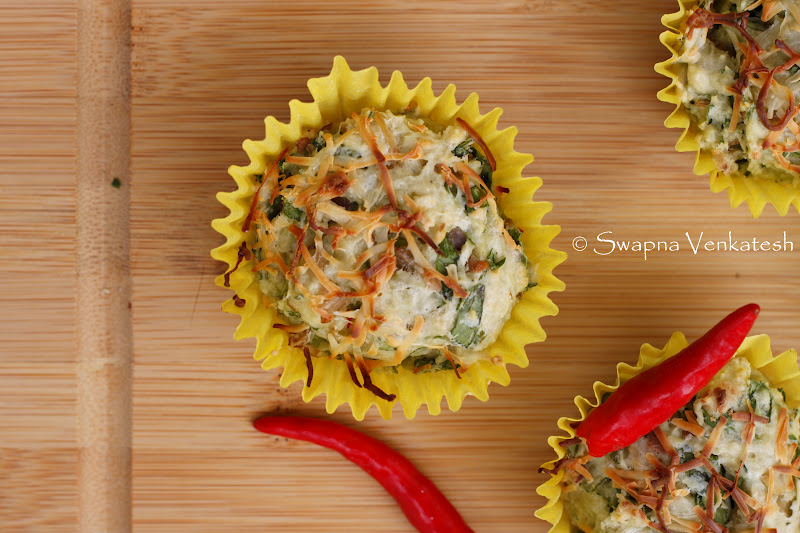
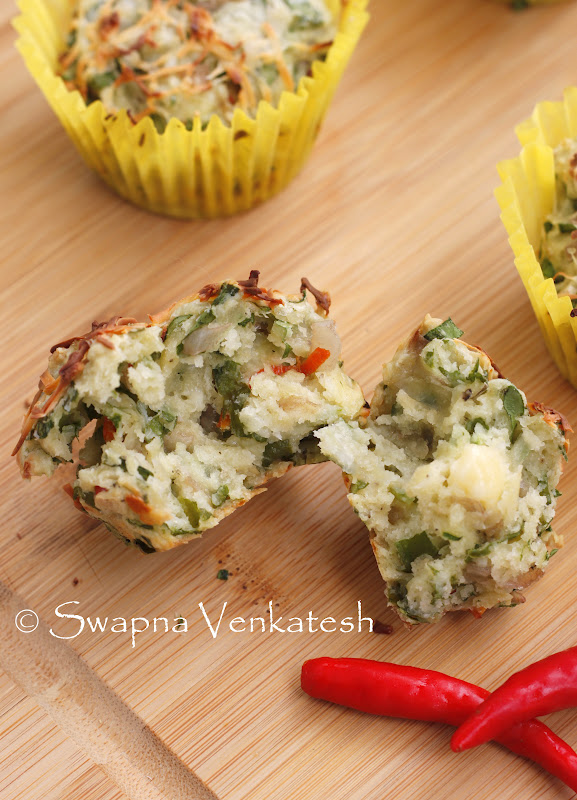
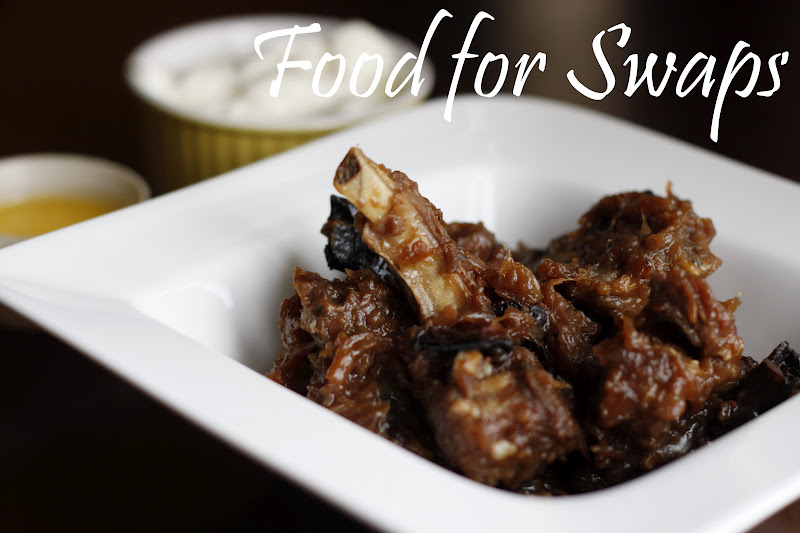
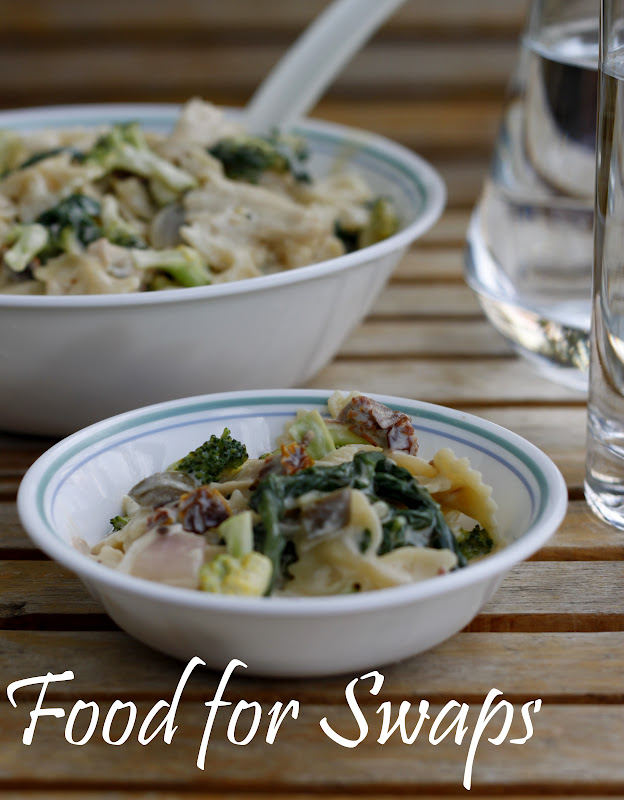
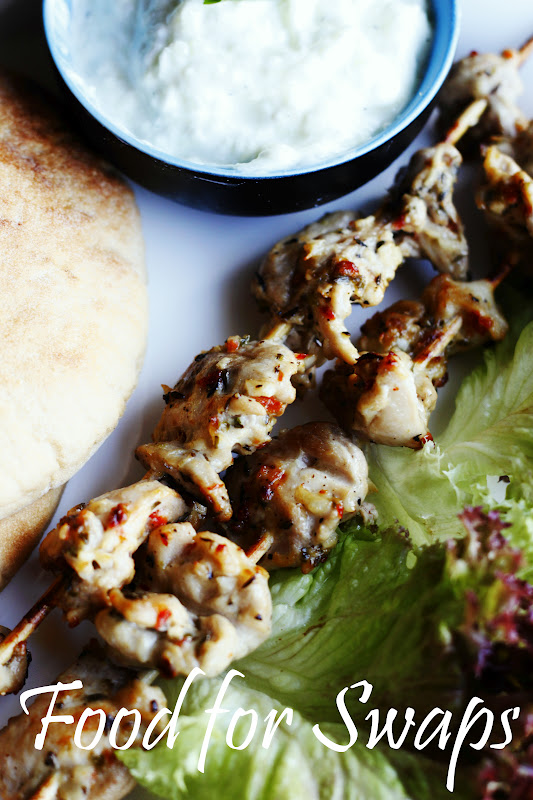
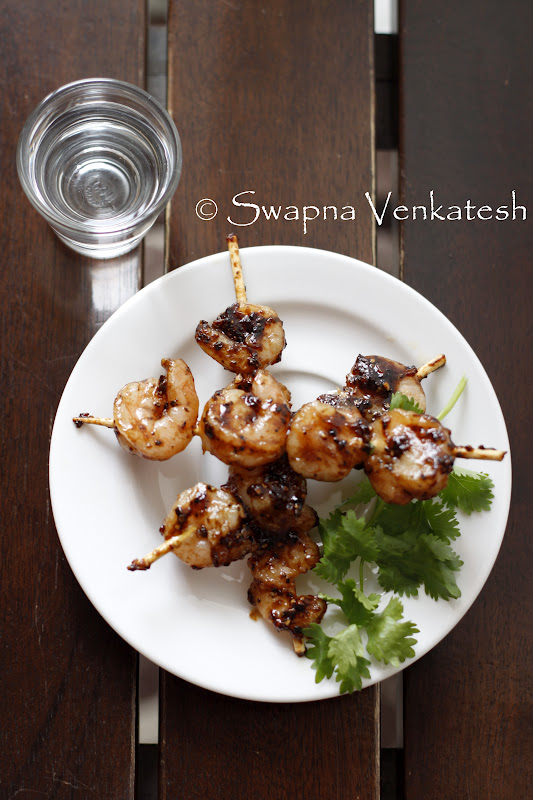
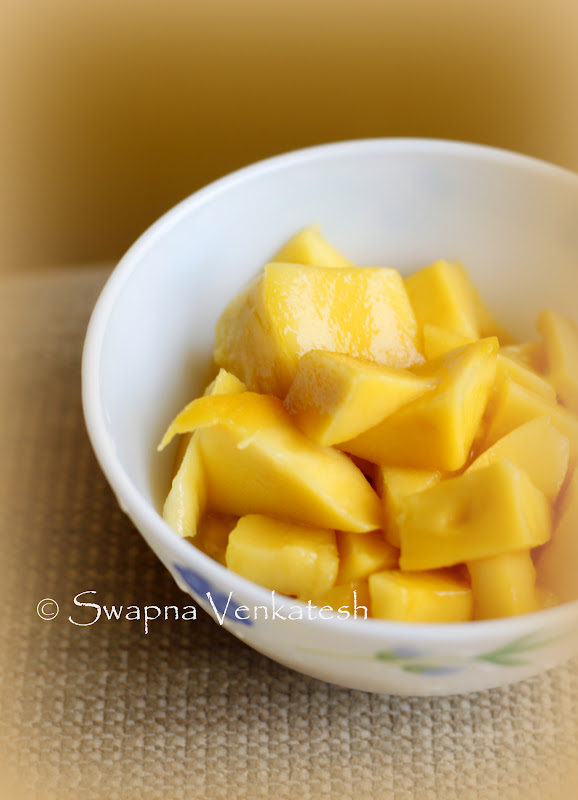
For Swapna Venkatesh who started her own food blog in 2009, food was a major part since she was nine. “We always helped around home, especially whenever there was something different being cooked; I was not interested in the usual dhal and chaaval.”
What’s special?
All these food lovers began with by loving one thing, but now over time, they’ve become masters in their own fields and have unique areas of interest in cooking.
Cooking with local ingredients and what’s available in her kitchen is what Chimayie does. Despite being a full-time mother, Chinmayie’s blog is always flowing with new recipes as the seasons change.
“I am thankful that I have access to gorgeous seasonal fruits and vegetables throughout the year and I am going to make complete use of it. Eating seasonal and local is healthier and more sustainable than eating imported gourmet food from the other parts of the world,” she says.
Chinmayie’s ‘Aloor Dum’. Pic: Chinmayie Bhat
Growing up in the town of Puttur, Chinmayie ate simple seasonal food. For a while she moved away from these traditional foods trying different cuisines and dishes. “But I am back to basics again with a lot of respect and love for eating simple,” she says.
Having stayed in many countries, Archana cooks a variety of dishes of different cuisines. Archana’s recipes are all healthy and the ingredients used are fresh, not packaged or processed. Archana began to make her own baby food for her two sons when they were small. “I used to grind baby cereal at home, make fresh pureed food every day and never bought ready to eat packaged baby food,” she says.
Swapna enjoys cooking Italian and Mediterranean foods the most. She kept a book in which she would record her recipes. Soon she saw others who were blogging about their own food, and she too thought it was time to put her own recipes online. At this time, she had also started becoming interested in photography, so everything fit.
Flavourful journey
Archana started her food blog in 2007, and today, has over a million visitors on her blog and 7500 fans on Facebook. Archana also conducts cooking classes in the city. Details are available on her site.
Chinmayie’s posts of various foods and drinks all have a story to tell, which makes reading them interesting. She shares her thoughts, how she came about making the dish, and what the process was like.
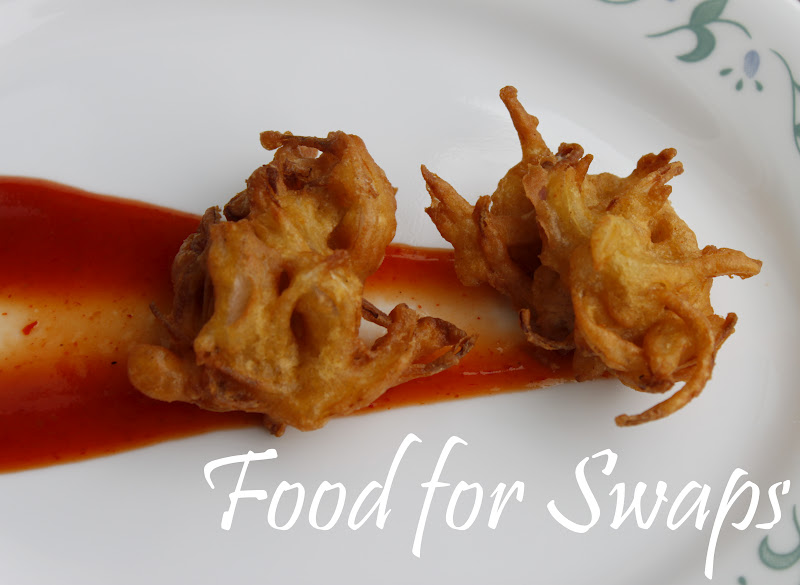
“I’m pretty happy as I get about 2000-3000 views per month,” Swapna says. Though she could increase the number of views on her site, Swapna prefers to keep her site ad-free.
Managing blogs and balancing their other interests is a task for these food bloggers, but yet, they have found what they’re passionate about, cooking and food. What more, they’re enjoying it, and thousands are benefitting from it!