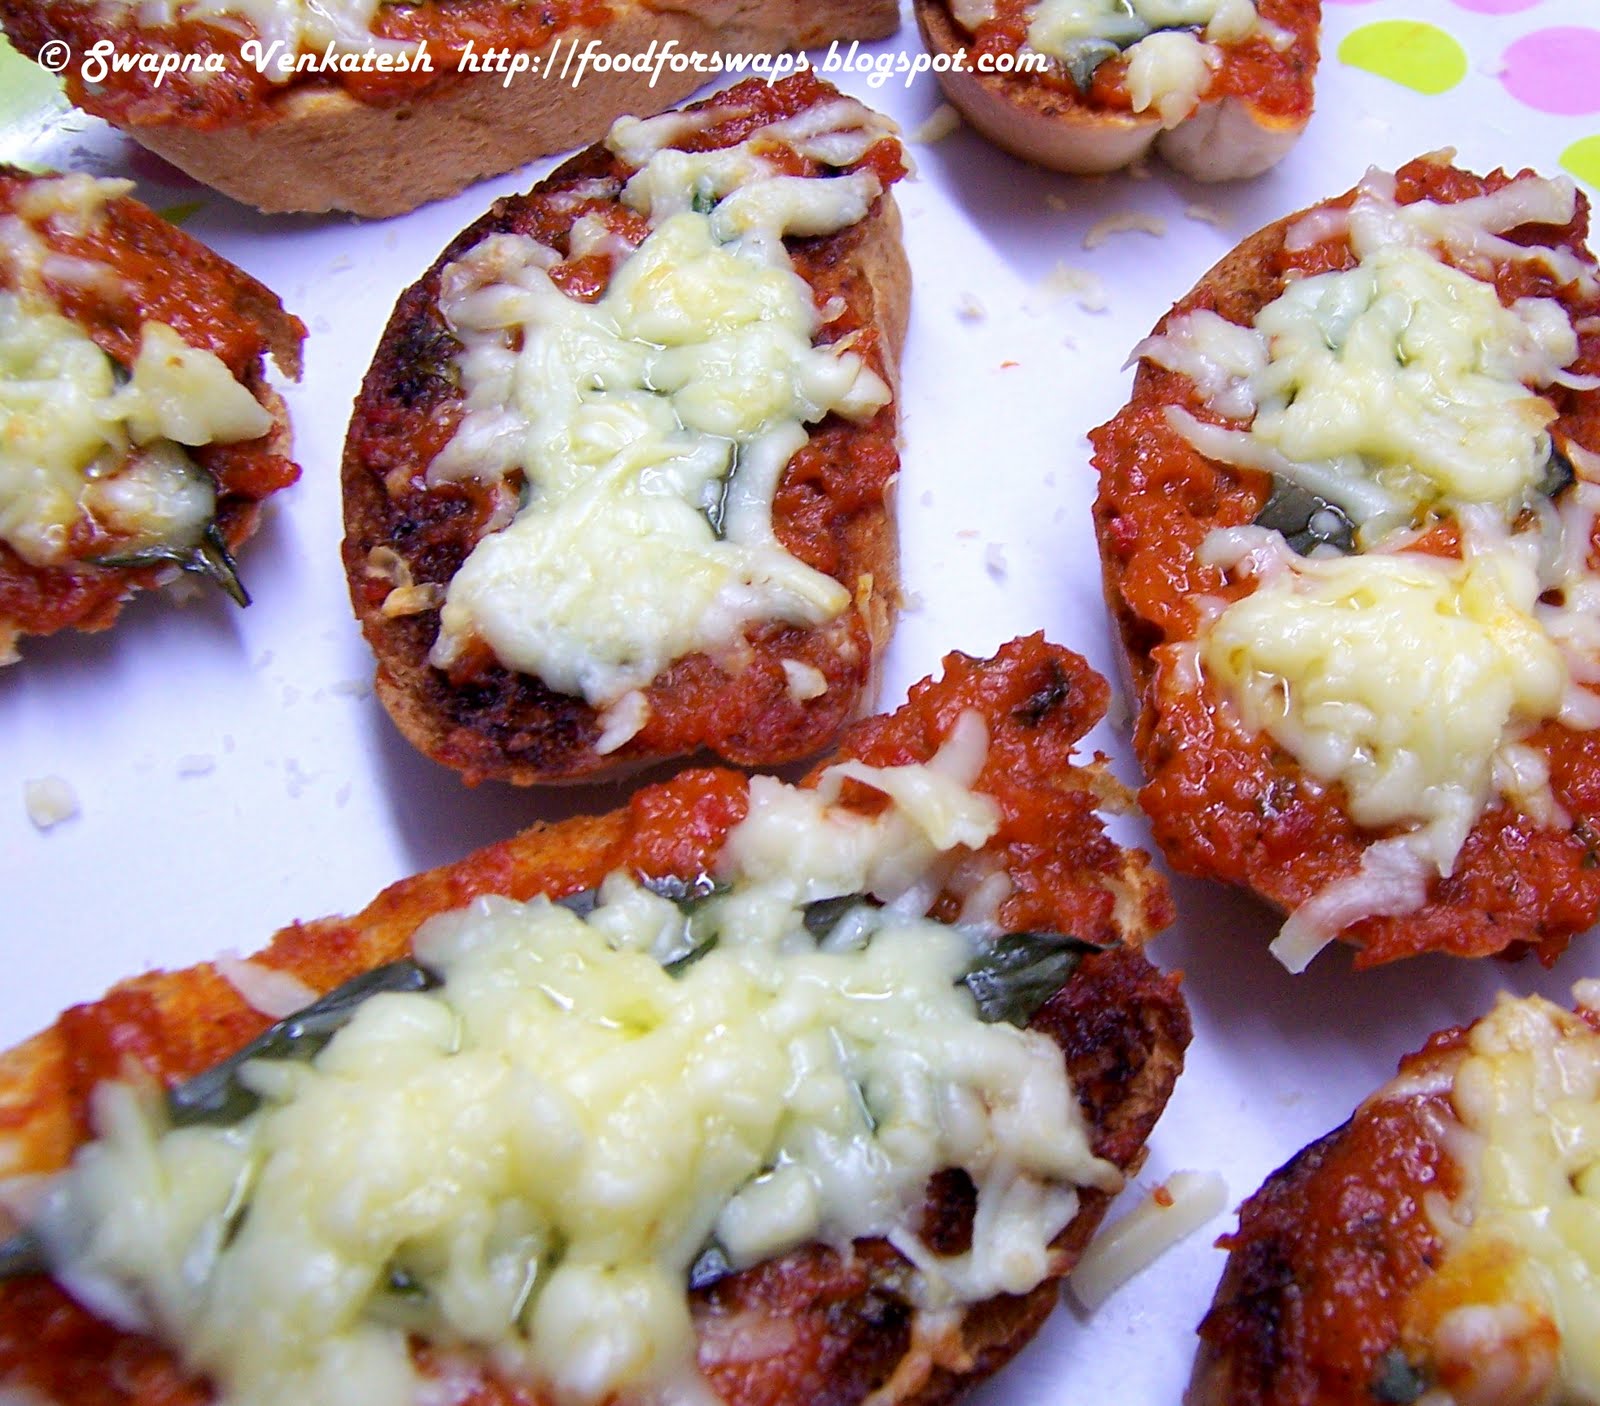
Bolognaise Sauce is a thick meat and tomato sauce served with pasta (usually spaghetti), originally from the city of Bologna in Northern Italy. The sauce is also known as Ragũ and traditionally contains chopped ham, beef, lean pork, chicken livers, several vegetables and white wine. The recipe I have is a special hand crafted one. (So let’s put it this way…I’ve tweaked the recipe to suit what was there at home and it turned out just fine). My star ingredient was the humble chicken (substituting the ham, beef and pork). I deserve credit for making the bolognaise sauce friendly for people who don’t eat red meat 🙂

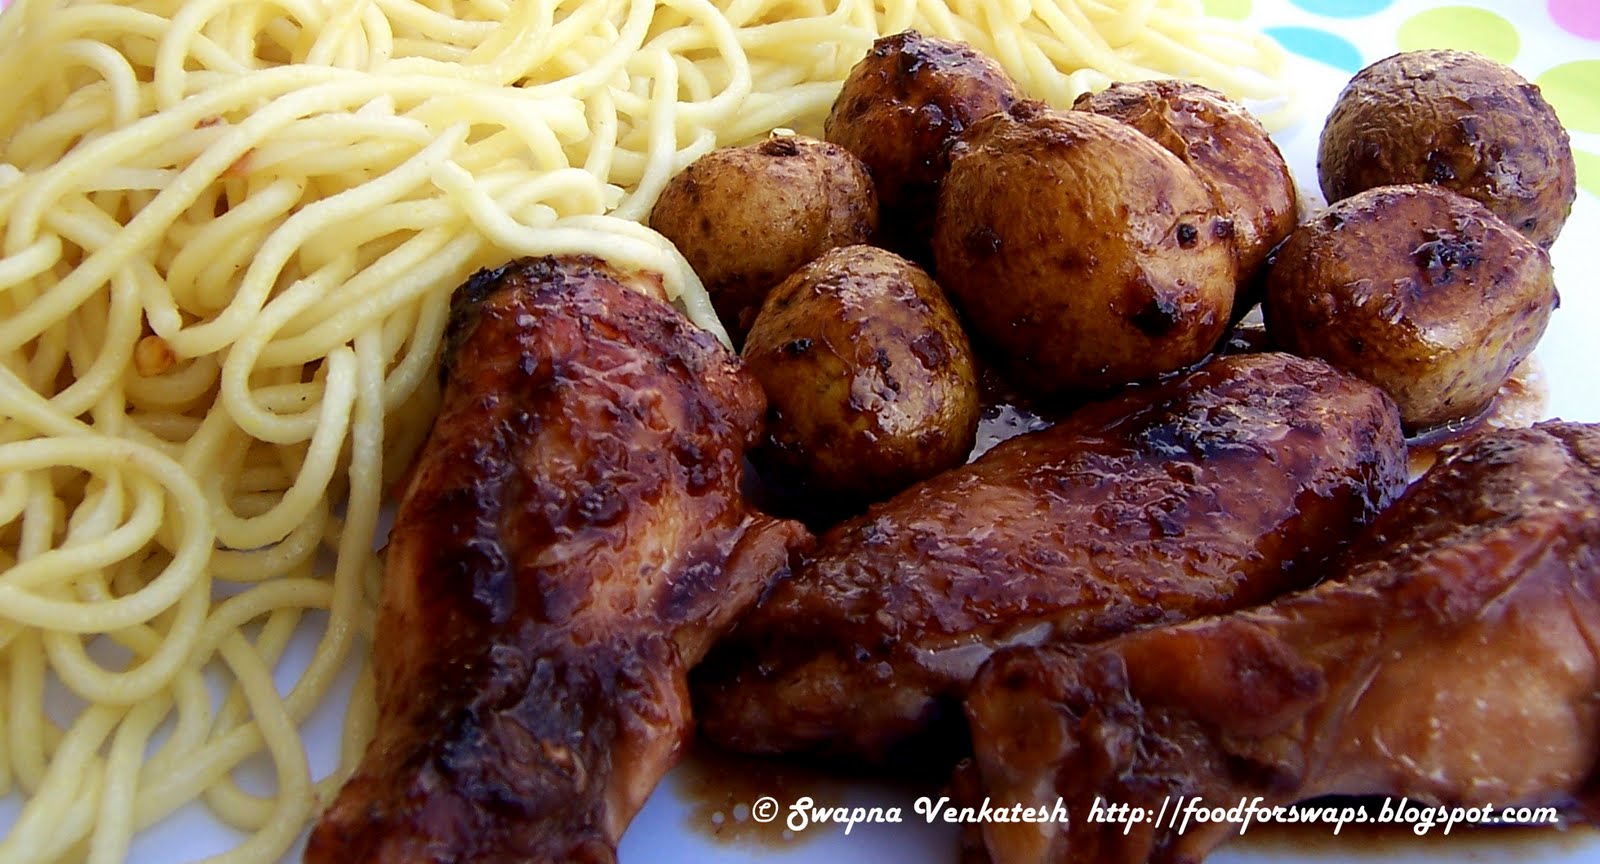
Spaghetti Chicken Bolognaise
Prep time: 15 mins
Cooking time: 40 mins
Serves: 4-6
What you need:
400 gms Chicken Mince
4 Tbsp Olive Oil
2 Onions (finely chopped)
2 Carrots (diced small)
8 Garlic cloves (finely chopped)
1 Celery Stem (finely chopped)
4 Tomatoes (finely chopped)
8 Tbsp Tomato Puree
2 Tbsp Ketchup
2 tsps Chili flakes
1 tsp Sugar
1 tsp Oregano
1 tsp Parsley
400 gms Spaghetti
Parmesan Cheese (freshly grated to serve)
Salt and Pepper
What to do:
Heat oil add garlic and then onion, carrot, celery and chili flakes. Saute well but don’t let the onions brown. Add tomatoes and cook for 2 mins. Add Chicken mince and sauté for 3 mins. Add the tomato puree and ketchup, mix well. Toss in sugar, herbs and seasoning. Cook for 2 mins. Add 1 cup of water and stir to get a thick sauce. Cook to desired consistency.
Meanwhile, bring a large heavy bottomed pan of lightly salted water to a boil. Add the pasta return to a boil and cook for 10 mins, or until tender but still firm to the bite. Drain, transfer to a warmed serving dish, Drizzle with a little olive oil and toss well. Pour the sauce over the pasta and serve with grated parmesan cheese. Hearty and Tasty!
P.S. For a version closer to the original, substitute 400 gms chicken mince with 100 gms lean Bacon, 100 gms Chicken livers, 100 gms pork and 100 gms beef. You can also add in ½ cup white wine after sautéing the meat.