I am always trying out new recipes that I fish out of the internet or my gazillion new cookbooks. I almost forgot how much I love the good ole recipes of yore. No, I’m not talking about the medieval times, just rewinding to school. One of my first cookbooks was one that I stole from mom. The free cookbook that came along with the Preett Pressure Cooker! It had a ‘how to use a pressure cooker guide’ as well as ‘101 recipes from India and Elsewhere’. (with pictures!!) I was hooked. J I came across it, while cleaning my bookshelf last week. Yellowing, tattered along the edges, a few pages coming loose of the thread binding – but there it was, waiting to exhale. I picked it up gingerly and spent an hour reading it cover to cover. (Yes, I read cookbooks.. . how many times do I have to say it?). I zeroed in on the Baked Beans Pasta recipe. It was considered very international in those days. I know… we were easily impressed! But considering we found pasta (only macaroni mind you) and baked bean cans in Thoms or maybe Nilgiris on MG road, once in a blue moon – it was always a special dish. Honestly, I love this recipe from the bottom of my heart. It’s my little time machine to simpler days…
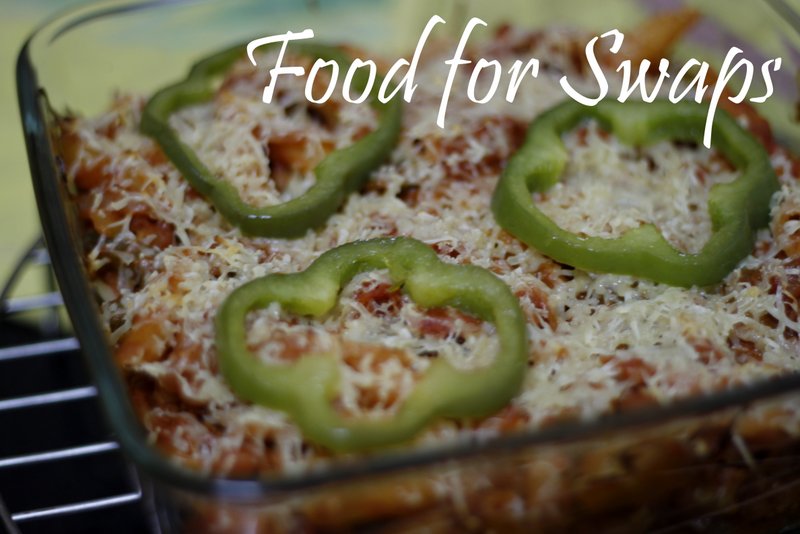
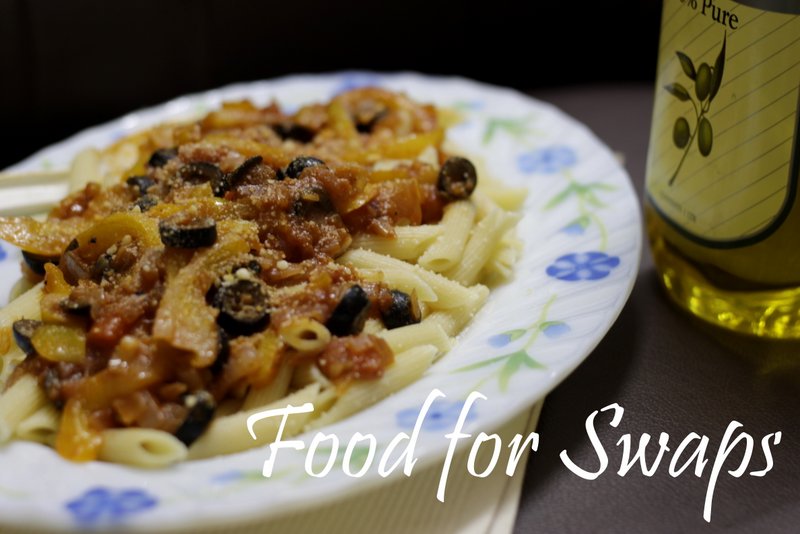
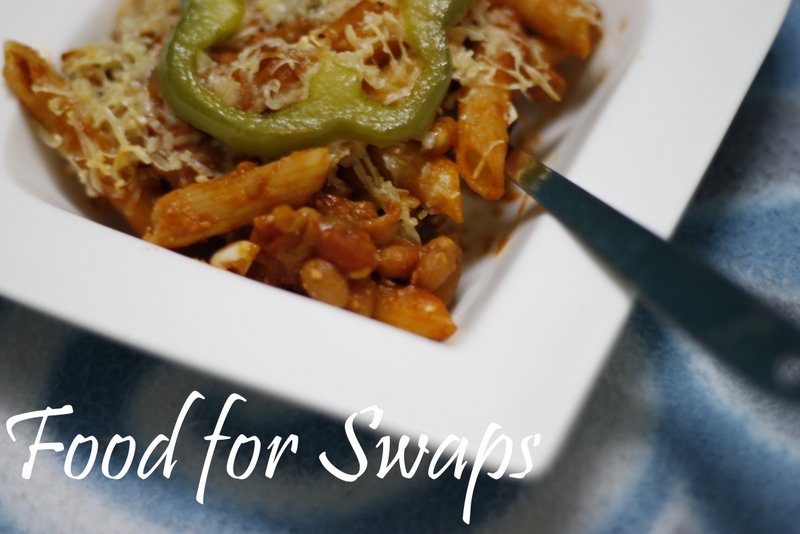
Baked Beans and Pasta Hot Pot
Prep time: 15 mins
Cooking time: 20 mins
Serves: 4
What you need:
1 ½ cups uncooked Pasta
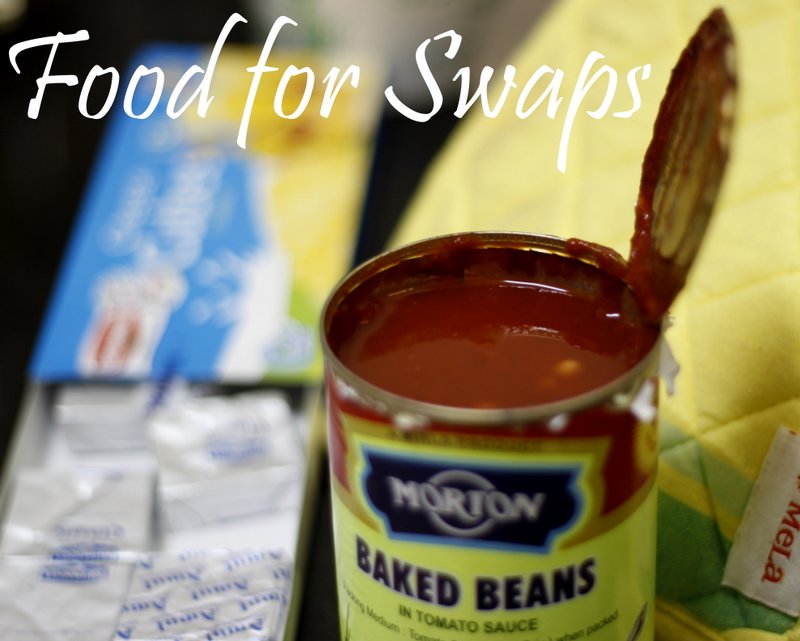
1 small tin Baked beans in Tomato Sauce
½ cup grated Cheese
2 Capsicums
3 Tomatoes
3 Onions
3-4 cloves Garlic
1 tsp Chili Powder
1 Tbsp Oil
1 Tbsp Butter
Salt and Pepper to taste
Mixed herbs for flavor
What to do:
Slice onions and Capsicums into rings. Blanch tomatoes, peel and dice. Cook pasta according to the instructions on the packet, drain and keep aside. (Ensure you toss in some olive oil so that it doesn’t stick). Heat oil in a skillet, add butter. Toss in onion and capsicum and fry for a while. Remove a few and keep aside for decoration. Add crushed garlic, chopped tomato, chili powder and salt to taste. Allow to cook for a few mins. Add pasta, baked beans in tomato sauce and half the grated cheese. Toss in some mixed herbs for flavour. Mix well and heat through for 2 mins.
Grease an oven proof dish. Pour mixture in. Decorate with onion and capsicum rings. Sprinkle remaining cheese, dot with butter and bake for 15-20 mins in a moderately hot oven (180-190°C). Serve hot!