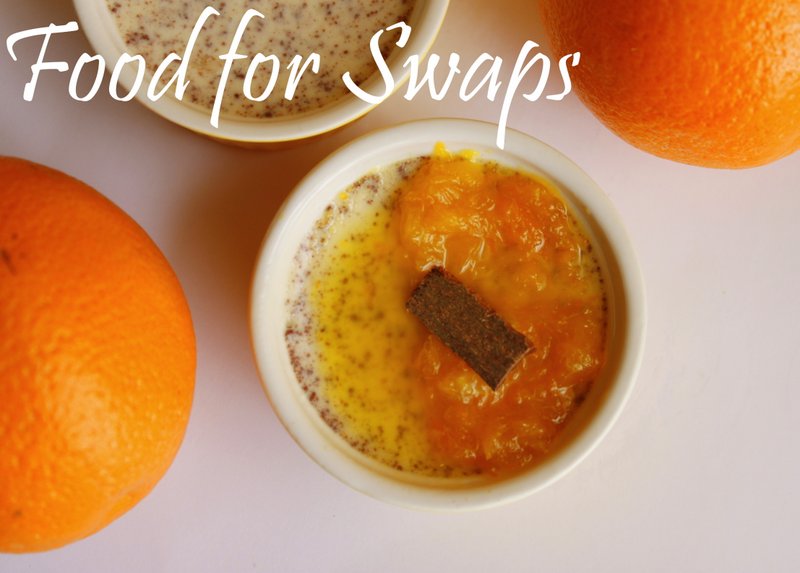
A conversation about Wimbledon led me to bake these. I know the natural train of thought will be tennis and the Wimbledon cup and how the hell is it related to cupcakes? But let me lead you to it…famously….slowly …delectably. Now Wimbledon is synonymous with tennis but what it’s also famous for is the tradition of eating strawberries and whipped cream by the spectators. Every year about 27,000 kilos of strawberries are eaten during the Wimbledon Tennis Championships, together with 7,000 litres of cream. Phew! I salivate every time I think about it!! My all time favorite dessert is Strawberries and Cream. There – I’ve said it and it’s official now. So next time I claim something else is my favorite dessert you know I’m lying! I always know when its strawberry season in Bangalore. Am I some kind of seasonal food specialist? – Hell no! I just walk over to Corner House and when they start selling their Strawberries and Whipped Cream, the season has officially begun! And man do I tank up on them like there’s no tomorrow! So this recipe is inspired by Wimbledon and Corner House in January and a gnawing urge to stuff my face with more of the good stuff!
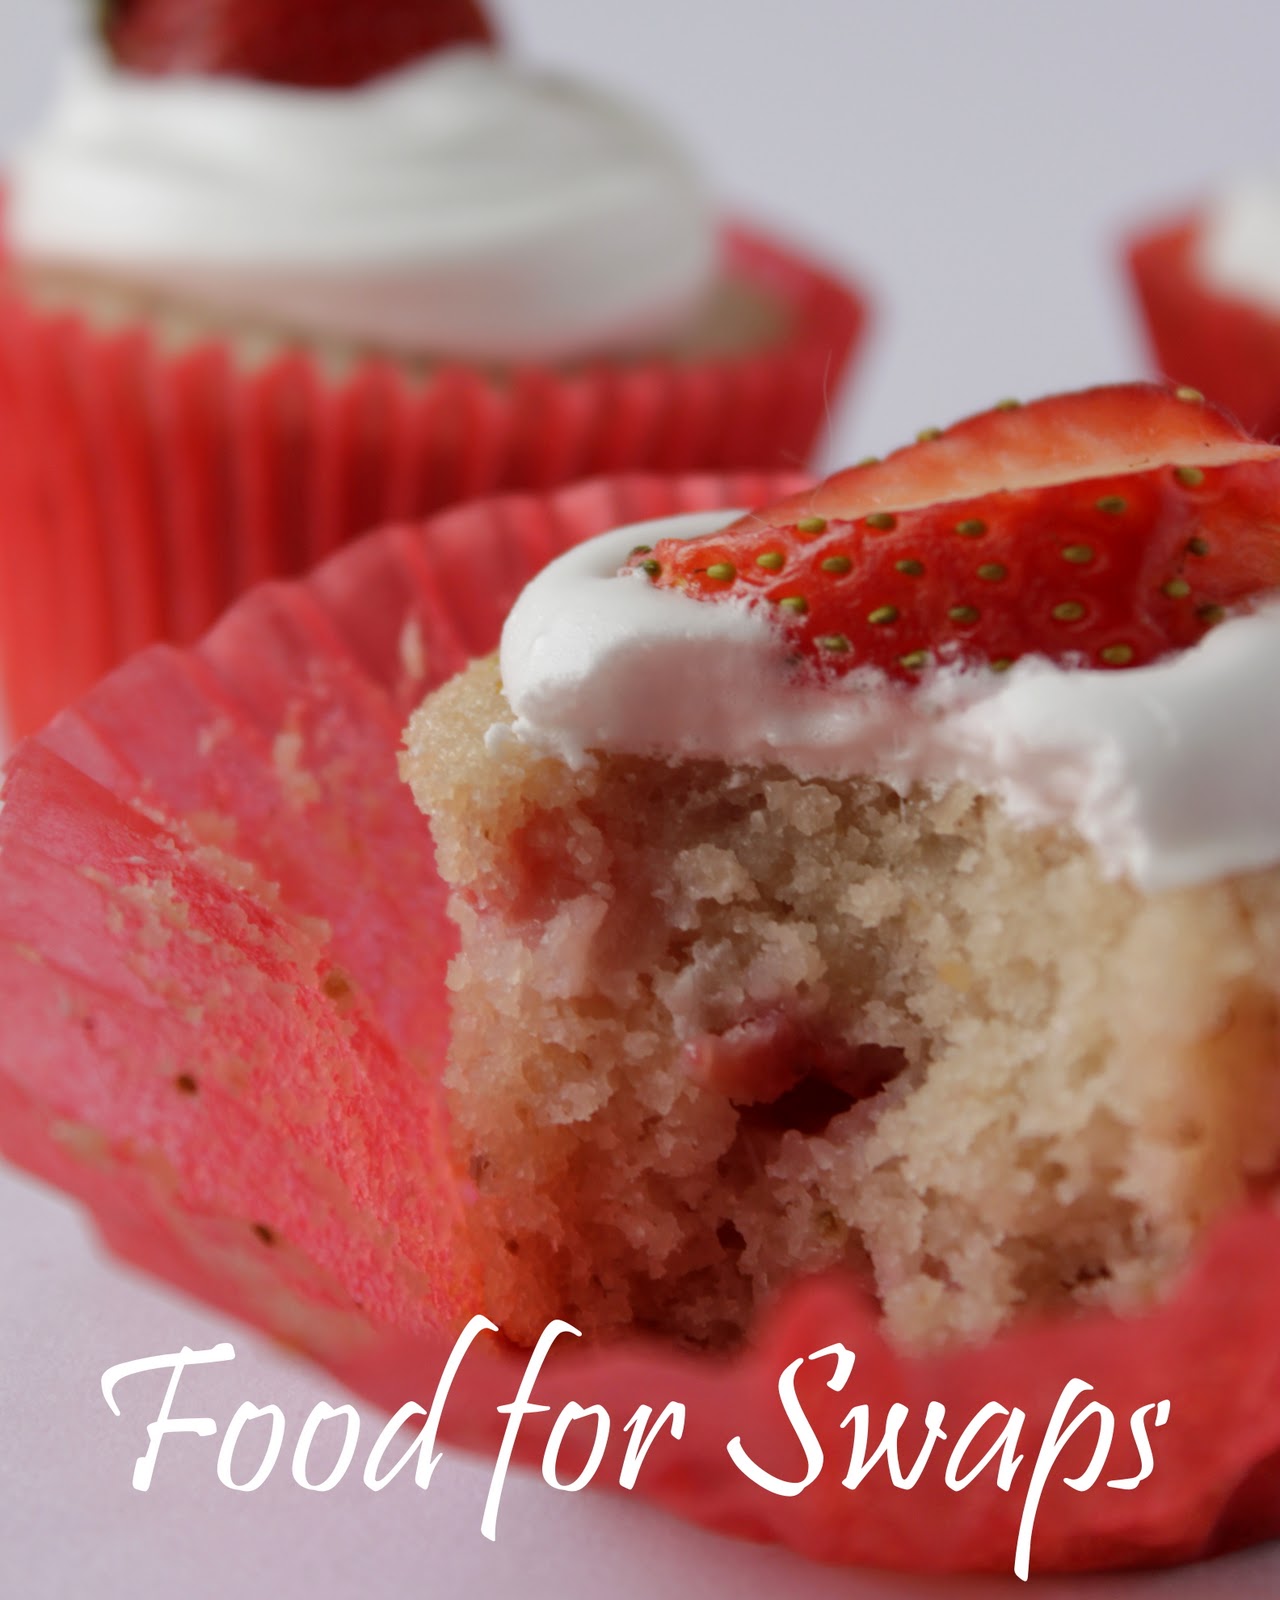
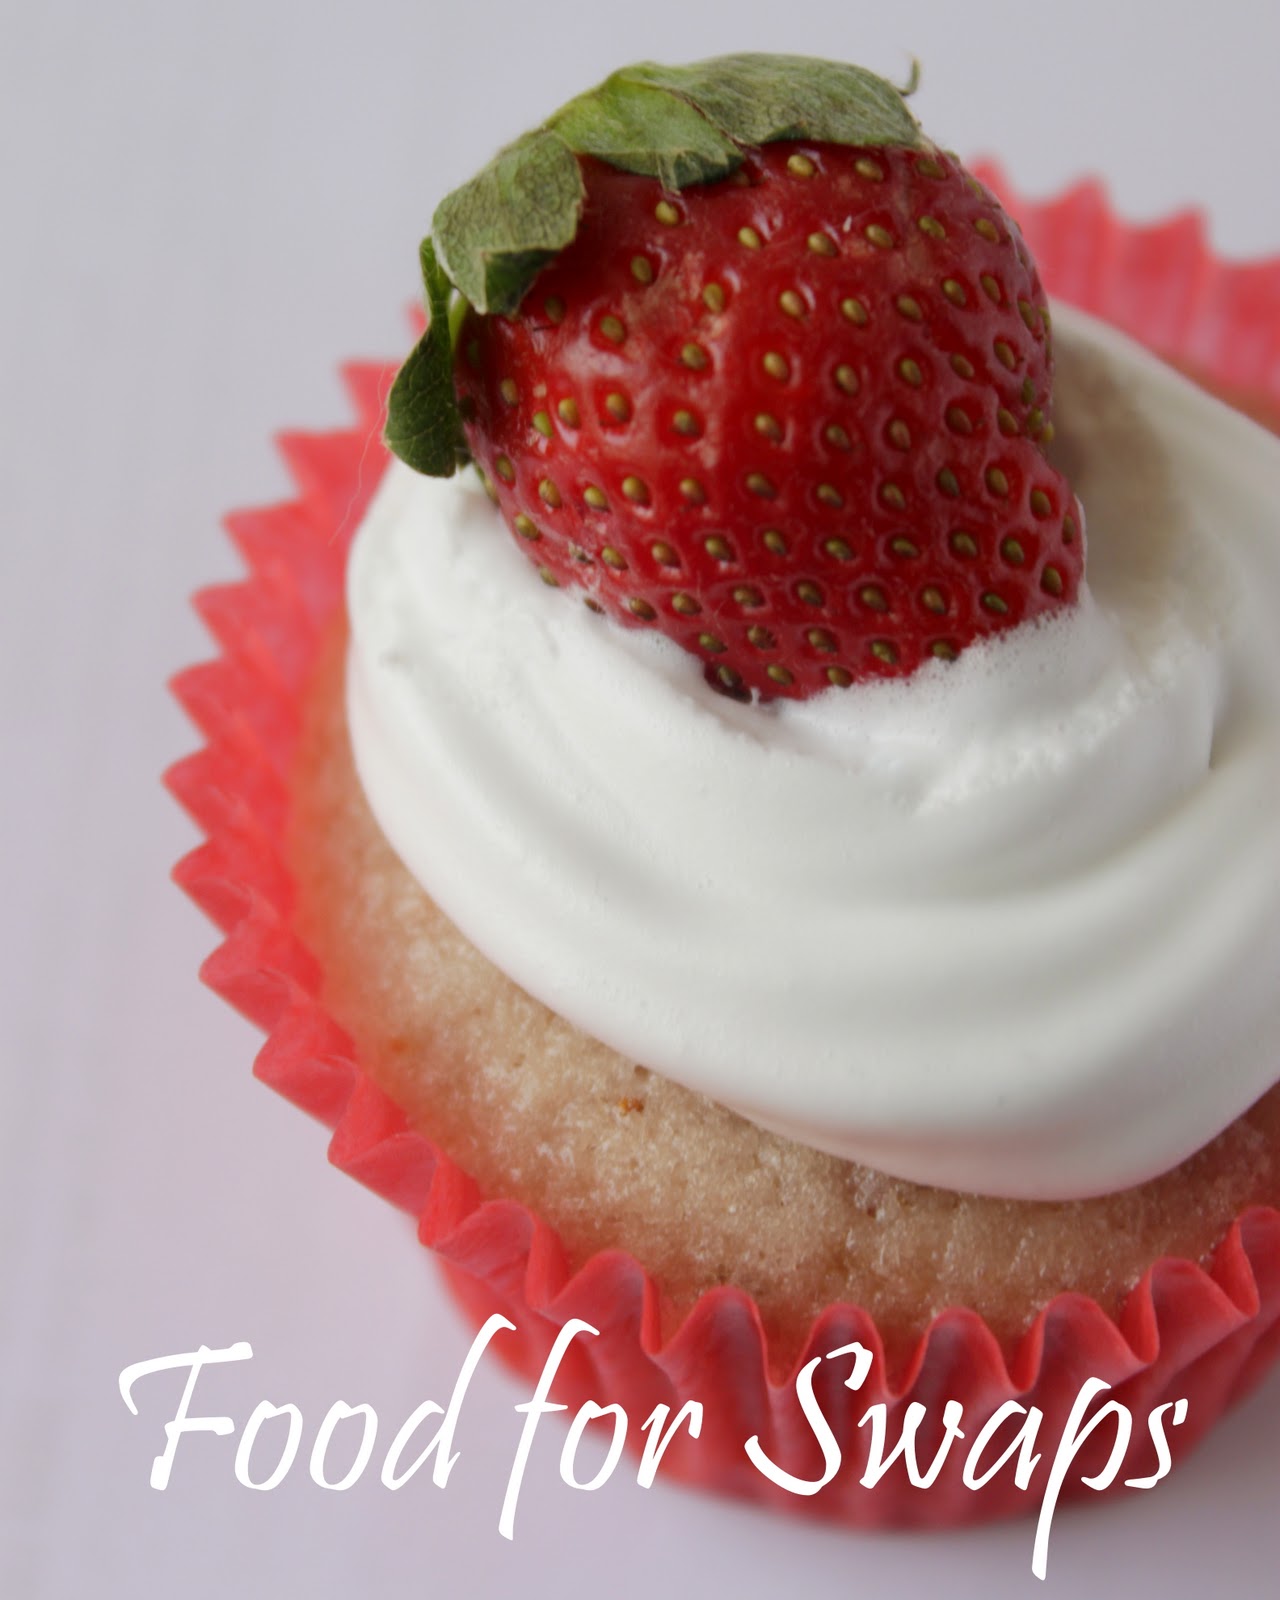
Strawberries and Cream Cupcakes
Prep time: 20 mins
Baking time: 25 mins
Makes: 8-12
What you need:
75g unsalted Butter, softened
¾ cup or 150 gms Castor Sugar
1 large Egg
1 tsp vanilla essence
¾ cup plain Flour
1 tsp Baking powder
1/3 cup or 85 ml Milk
1/2 cup Strawberry puree
1/4 cup Strawberries (coarsely chopped to fold into the batter)
For the frosting:
1 cup fresh Heavy Cream whipped with 3 Tbsp Castor Sugar
2 Strawberries, sliced (to decorate)
What to do:
For the Cupcakes: Sift the cake flour with baking powder and set aside. Combine the strawberry puree and milk together, set aside. In another bowl beat the butter and sugar until light and fluffy for 3-4 minutes, scraping down the sides of the bowl as needed. Beat in the egg along with the vanilla essence with the mixer on low speed for a minute. Add the flour mixture in three parts, alternating with the milk and puree mixture and beginning and ending with the flour; beat until combined after each addition. Fold in the chopped strawberries gently.
Line a muffin tray with paper liners/ muffin cups. Divide the batter evenly among the prepared cups so that each is about two-thirds full. Bake in a preheated oven of 170°C, rotating the pans halfway through, until the cupcakes are golden brown or till a toothpick comes out clean, about 25-26 minutes. Transfer pans to a wire rack to cool for 5 minutes. Next, remove cupcakes from pan and cool completely on wire racks.
For the frosting: Once the cupcakes are completely cool, frost them with the whipped cream (beaten with the sugar) and decorate with a slice of strawberry. Are you in Wimbledon yet?